
Move Out Cleaning: What To Keep In Mind And To-Do List
Packing up a home and handing the keys back is stressful enough without adding a last-minute cleaning scramble to the list. Move out cleaning is the final job that can help decide how the tenancy ends, so it pays to know what landlords and property managers actually look for. This guide walks you through what to keep in mind and gives you a room-by-room to-do list you can work through without panic.
Quick Summary
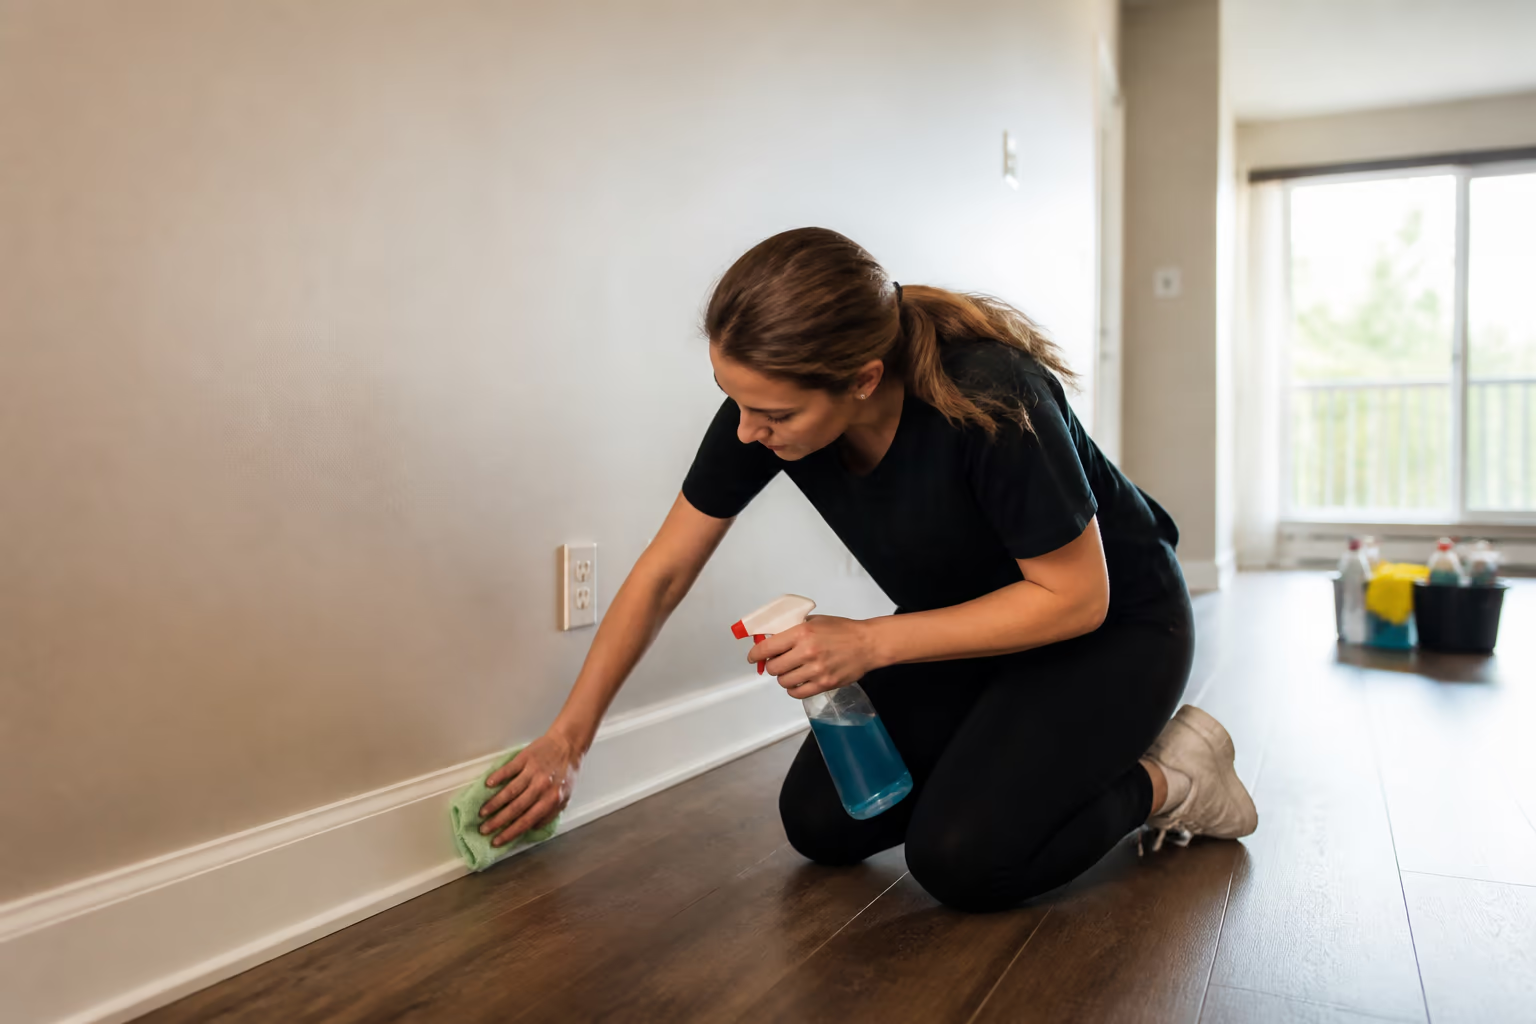
Move-out cleaning in Ontario should meet a standard of ordinary cleanliness beyond everyday tidying, since landlords inspect closely for built-up grime that can lead to deductions. Plan the clean around the final walkthrough, start a few days early, and work room by room using a checklist for a smooth handover.
In this guide
Why Move Out Cleaning Matters
Move out cleaning is a critical step in the process of leaving a rental, and knowing what to focus on can make the task less daunting. The standard for a move-out clean is usually higher than everyday cleaning. Landlords and property managers inspect the unit with a fresh eye, looking for the grime that built up over your tenancy rather than the small signs of everyday living.
The legal standard is narrower than most checklists imply. Section 33 of the Residential Tenancies Act makes a tenant responsible for the ordinary cleanliness of the rental unit, except where the tenancy agreement puts that duty on the landlord. Ordinary cleanliness is the obligation; a spotless restoration is a choice you may still make to leave on good terms. The Act states its own purpose: “The purposes of this Act are to provide protection for residential tenants from unlawful rent increases and unlawful evictions, to establish a framework for the regulation of residential rents, to balance the rights and responsibilities of residential landlords and tenants and to provide for the adjudication of disputes and for other processes to informally resolve disputes.”
Under a typical Ontario residential lease, you are expected to return the unit in a state of ordinary cleanliness, allowing for reasonable wear and tear. That means the home should be left clean enough for the next tenant to move straight in. Stains, heavy grease, and built-up grime fall outside that standard and can become grounds for a claim when the tenancy ends.
In practical terms, the work you skip is the work that can cost you. The good news is that a systematic approach makes the job manageable, whether you take it on yourself or hand the deep cleaning to a professional team that knows the standard. Starting a few days before the move, rather than the night before, gives you time to do the job properly and still pack.
A move-out clean is also a form of protection for your reference. Property managers talk to each other, and a tenant who leaves a home in good condition is remembered well. Taking the extra hour to leave the unit genuinely clean is a small investment in a smooth ending, and it reduces the chance of a surprise deduction later.
Plan the clean around the final walkthrough, not your moving day. If you schedule the clean a day or two before the inspection, you avoid the chaos of cleaning around boxes and furniture that are still being moved out. An empty unit cleans far faster, and an empty unit is exactly what the landlord expects to see.
What Landlords Actually Check
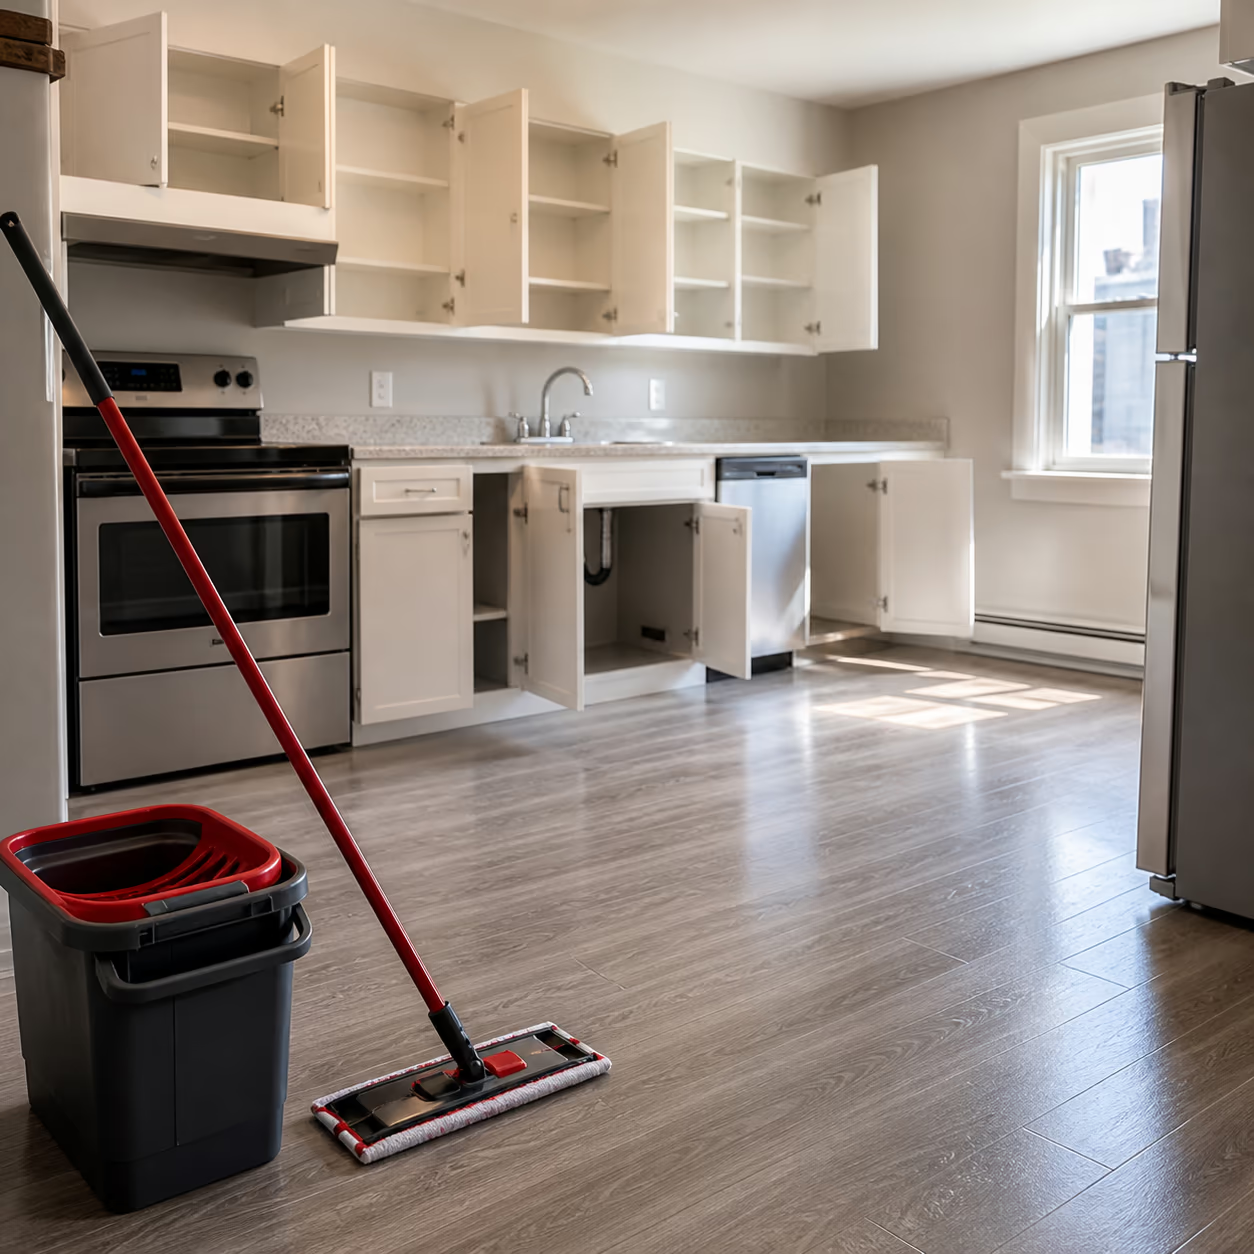
To clean effectively, it helps to know where the eyes will go first. Landlords and property managers check more than the obvious countertops. They look for the spots that show whether a home was genuinely maintained, and those are usually the areas where tenants run out of energy.
- The kitchen, especially the inside of the oven, the stovetop, and the exhaust fan filter.
- Bathrooms, where soap scum, hard-water stains, and grout discolouration build up.
- Inside appliances, including the fridge, microwave, and dishwasher.
- Window sills and tracks, which gather dust and debris all year.
- Floors, including the edges of rooms and the corners that get skipped.
- Light fixtures, switches, and the dusty tops of doors and trim.
Once you know the checklist, you can work through the unit room by room instead of cleaning the same space twice. Make a list, tick off each item as you go, and photograph the finished rooms before you hand over the keys. Photos give you a record of the condition you left behind, which is useful if a dispute comes up later. Keeping a simple cleaning checklist to keep your house clean between moves also makes the final walkthrough far less overwhelming.
It is also worth knowing that the final inspection is often a walkthrough, not a quick glance. The landlord may open the oven, pull out the fridge, and check the corners of every room. Whatever you skip in that walkthrough is a problem you are choosing to leave behind, so treat the checklist as the minimum, not the ideal.
A large share of move-out claims come down to a short list of trouble spots: unwashed ovens, hard-water marks in the bathroom, stained carpets near entrances, and grime inside the fridge. If you target those areas first, you have already handled most of what a claim is built on. Everything else is a matter of finishing the standard cleaning.
What You Need Before You Start
Before the final clean, gather your supplies and plan the order of rooms so you are not re-cleaning as you go. Work from the least-used rooms toward the kitchen and bathrooms, and always finish with the floors.
- All-purpose cleaner, a degreaser for the kitchen, and a bathroom cleaner.
- Glass cleaner and plenty of microfibre cloths, including old ones you can throw away.
- A vacuum with attachments, a mop, and a bucket.
- Scrub brushes, a toilet brush, and a grout brush for stubborn spots.
- Bags for rubbish and a box for anything you are leaving behind.
If you prefer gentler options, look for products with EcoLogo certification, which points to environmentally responsible formulas that still handle the job. It is also worth checking the move-out standard in your lease or asking your landlord directly. Some buildings expect professionally cleaned carpets, while others just want a thorough vacuum. Knowing the standard up front saves you from doing work that is not required or, worse, missing work that is.
Give yourself a buffer. Moves almost always run later than planned, so keep your final clean two or three days before the handover rather than on the same day. That buffer also gives you time to fix a missed spot after your own walkthrough, instead of discovering it during the inspection.
The Step-by-Step Process
A room-by-room order keeps the job moving. Start with the ceilings, lights, and upper surfaces, then work down to the floors. That way dust falls onto surfaces you have not cleaned yet rather than onto finished ones.
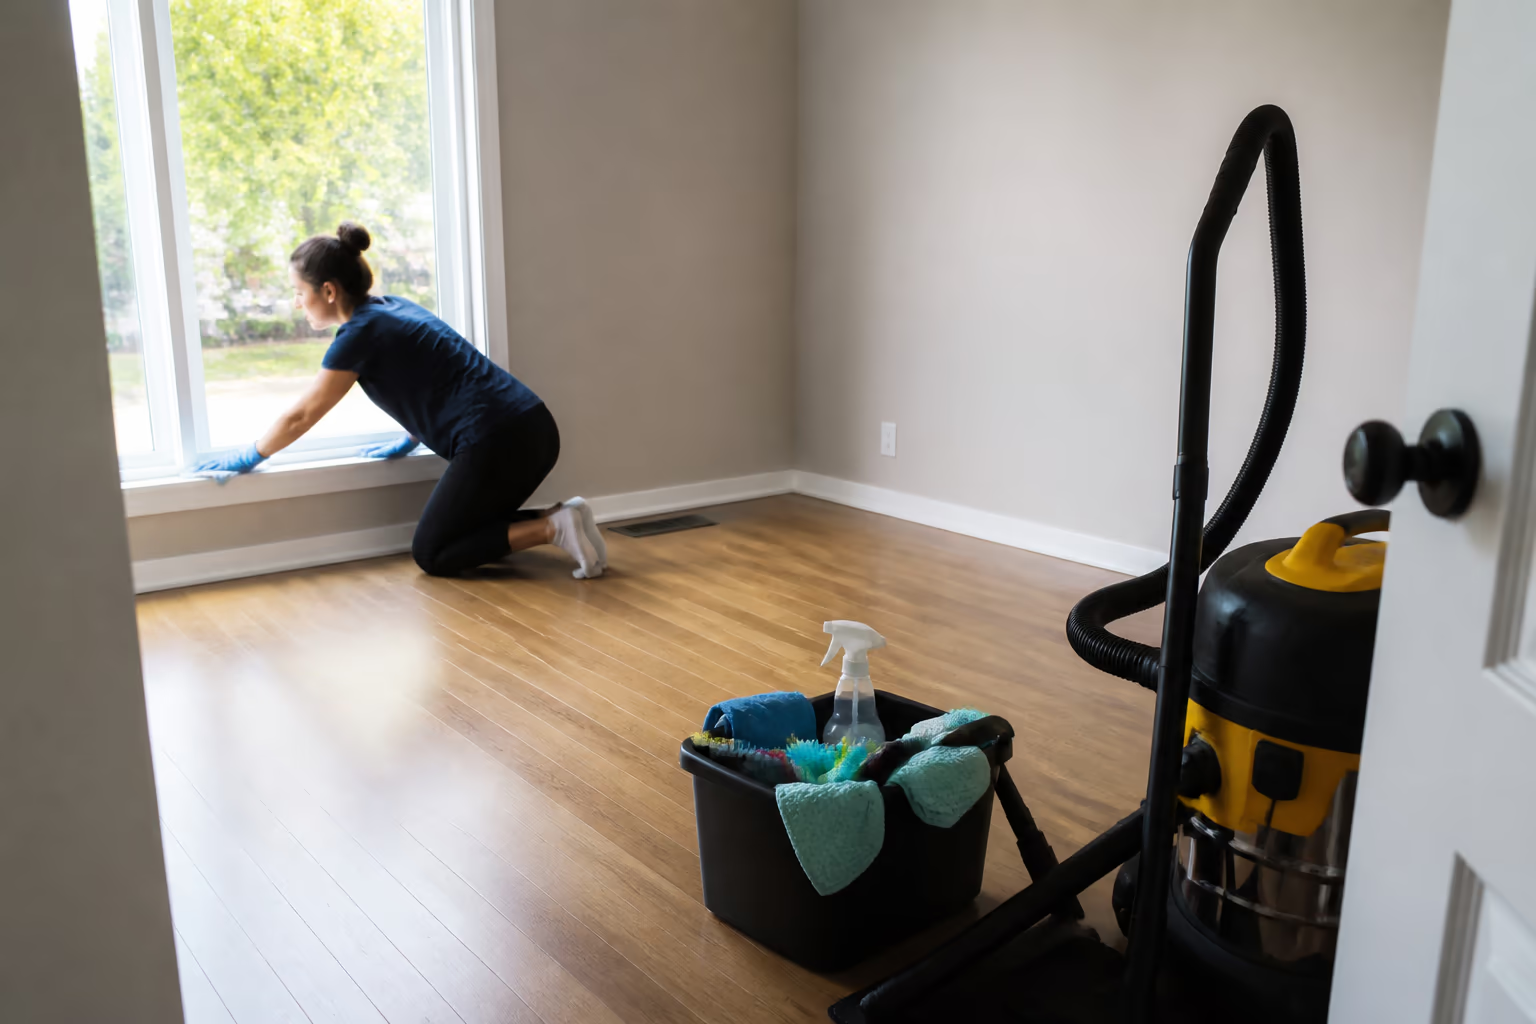
- 1.Empty every room completely, including closets and cupboards, and take down shelves.
- 2.Dust and wipe light fixtures, vents, window sills, and the tops of cabinets.
- 3.Wash walls and doors where they show marks, and spot-clean scuffs on the baseboards.
- 4.Clean inside and behind appliances, then pull out the fridge to sweep behind it.
- 5.Scrub the bathroom from the shower and tub to the toilet, sink, and mirror.
- 6.Finish each room with the floor:vacuum first, then mop hard surfaces last.
The kitchen deserves its own pass because it attracts the most scrutiny. Run the self-clean cycle on the oven if you have the time, degrease the stovetop and backsplash, and wipe every shelf in the fridge before it dries into a crust. Pull the microwave tray and wash it, and give the dishwasher filter a rinse if it has one. These are the details a walkthrough catches.
Bedrooms and living spaces are simpler but still need care. Wipe baseboards and door frames, vacuum under beds and behind furniture, and dust closet shelves that have not seen a cloth in months. Because these rooms carry less moisture and grease, they take less time, but they still need to pass the same inspection.
Then do a final walk-through. Wipe the light switches and door handles, empty the bins, and check the places people miss, such as the inside of the oven door and the back of the toilet. Leave a clean kitchen sink and a fresh-smelling space; small finishing touches leave a strong impression.
During Ottawa's winters, salt residue works its way deep into entry carpets and mats, so give entryways extra attention. Vacuum thoroughly and, if the lease calls for it, arrange a professional carpet clean before the inspection. In summer, check window screens and balcony surfaces, which often gather months of pollen and dust.
Common Mistakes and How to Avoid Them
The most expensive mistakes in a move-out clean are usually the ones that are easy to prevent. Most come from rushing, skipping the deep spots, or using the wrong product on a surface.
- Forgetting the inside of the oven and the refrigerator, two of the first places a landlord looks.
- Using abrasive pads on stainless steel, glass, or painted surfaces and scratching them.
- Cleaning around appliances instead of pulling them out and reaching behind them.
- Leaving hard-water stains and soap scum in the bathroom, which build up quickly.
- Forgetting to check window tracks, closet shelves, and light fixtures.
- Skipping a final inspection, so obvious problems go unnoticed until handover.
Another common mistake is trying to do everything in one exhausting day. Split the work across a couple of sessions, or book a professional team to take the deep cleaning off your hands. A well-organised schedule produces a better result than a rushed marathon, and it is far kinder to your body.
There is also the temptation to test the limits of what the landlord will notice. It rarely pays off. The inspection is exactly the moment a fresh pair of eyes looks for what you have stopped seeing, and a disputed cleanliness standard turns a straightforward move into a drawn-out conversation. Do the work properly once and move on.
Do not forget the windows, either. Streaks and dust on glass stand out during a walkthrough, and window tracks are a classic hiding place for grime. A quick wash of the interior glass, plus a wipe of the tracks, removes a whole category of complaints before they are ever raised.
How Good Cleaner Co. Approaches Move-Out Cleaning
At Good Cleaner Co., we treat a move-out clean as a specific job with a specific standard, not a generic tidy-up. Before we start, we ask about the lease requirements, the size of the home, and any areas that worry you, so we know exactly what the inspection will demand.
Our teams work top to bottom and finish with a walkthrough of their own. The goal is a unit that is ready for inspection the moment you hand over the keys, with the receipts and photos to back it up.
Costs, Timing and When to Call a Professional
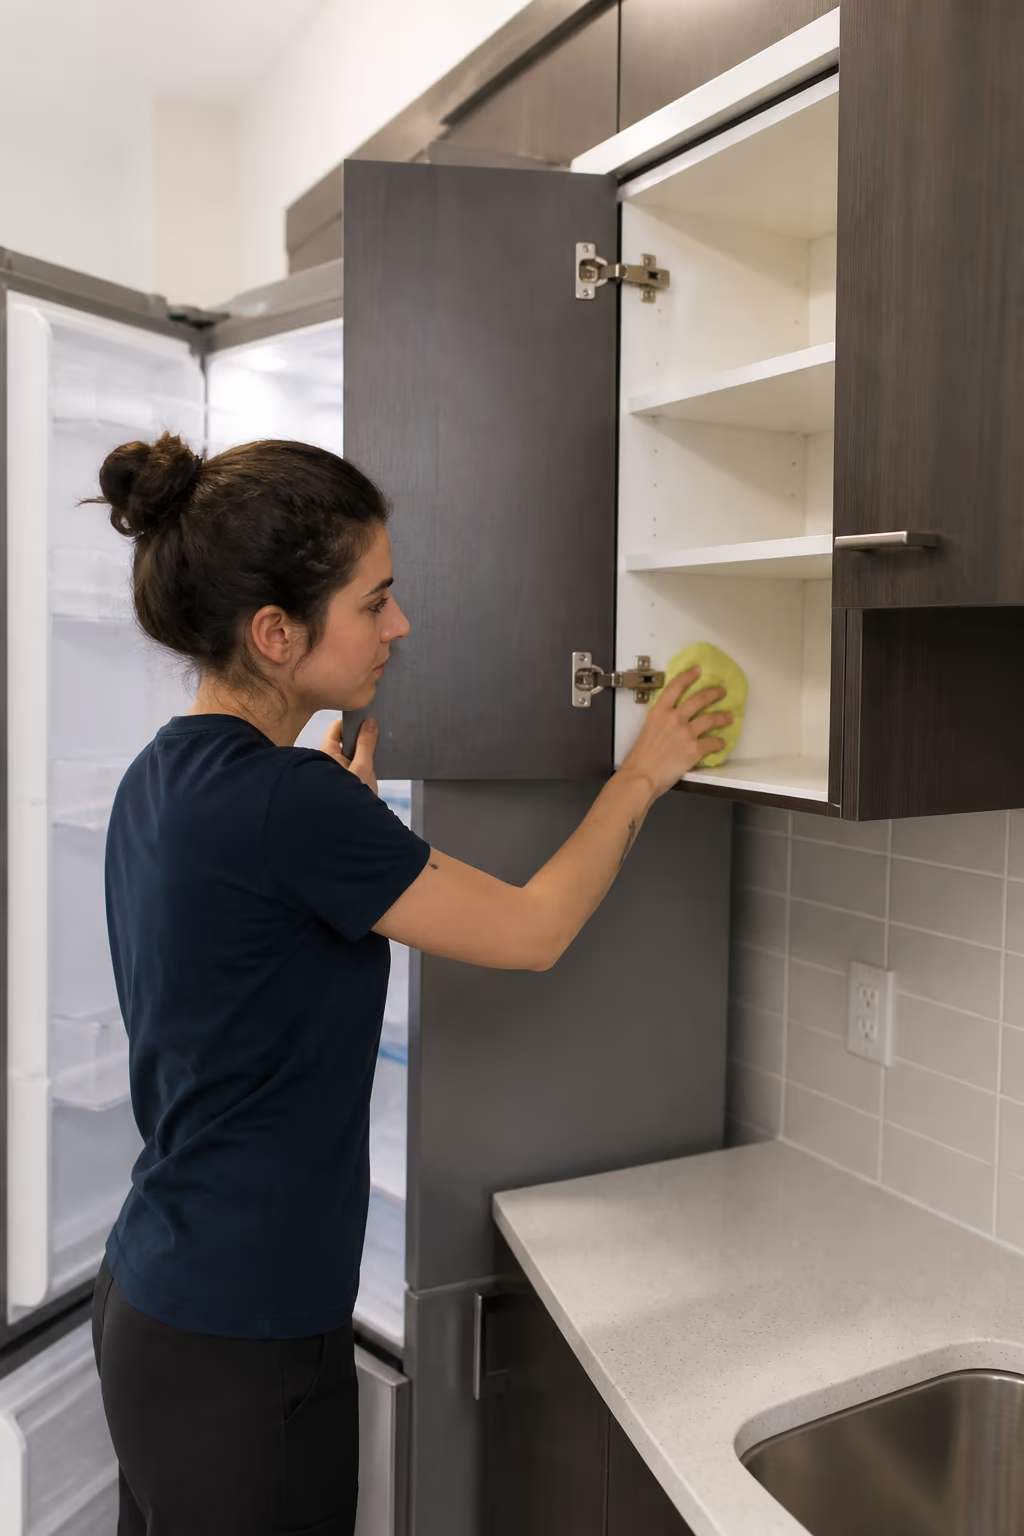
The cost of a move-out clean varies widely because it depends on the size of the home, its condition, and whether carpets and windows are included. Typical ranges shift with the market and the scope, so it is worth getting an itemised quote rather than assuming a flat price. If you compare a few providers, you will get a realistic sense of what your home needs.
Formatted Step-by-Step Move-Out Cleaning Checklist
Work through this checklist once the unit is empty, and tick each item off as you finish:
- 1.Do a full sweep of every room and gather your supplies, bags, and boxes.
- 2.Clean from the top down, starting with lights, vents, and window sills before walls and floors.
- 3.Tackle the kitchen and bathrooms with the right products, letting them dwell before you scrub.
- 4.Vacuum carpets and mop hard floors, pulling out appliances to reach the spots behind them.
- 5.Do a final walk-through, wiping high-touch points and photographing each finished room.
- 6.If the timeline is tight or the standard is high, house cleaning options in Ottawa bring a trained team to deliver a thorough move-out clean for you.
Free Move-Out Cleaning Checklist to Print
The clean before handover on paper: before you start, the kitchen, the bathrooms, the bedrooms, living areas and floors, and the final walkthrough.
Print it, work top to bottom, and photograph each finished room. There is no form and no email address to hand over.
Letter size, print-ready. No email address, no sign-up.
FAQ
Is a move-out clean the same as a normal deep clean?
Not quite. A move-out clean aims at a specific standard: the unit should be left in ordinary cleanliness so the next tenant can move straight in. It focuses on the spots landlords inspect, such as inside appliances and hard-water stains. If you want a deeper breakdown, our guide to move in vs move out cleaning differences covers how the two jobs compare in scope and standard.
Do I need to professionally clean the carpets?
Check your lease or ask the landlord. Some buildings require professional carpet cleaning as part of the move-out standard, while others only expect a thorough vacuum. It is better to confirm up front than to guess.
How long does a full move-out clean take?
It depends on the size and condition of the home. A smaller apartment can be handled in a day, while a larger home with heavy build-up can take two days or more. Splitting the work across sessions makes it more manageable.
What happens if I leave the unit dirty?
Under an Ontario residential lease, you are expected to return the unit in ordinary cleanliness. Heavy grime, stains, and damage beyond reasonable wear and tear can become grounds for a claim, so it is worth getting the deep spots right.
Should I hire a professional for my move-out clean?
If your time is tight or you want the confidence of a finished standard, a professional team is a good investment. They know where landlords look and bring the products and tools to handle the deep work.
Can I do the move-out clean myself and save money?
Yes, many people do. A systematic checklist and a couple of sessions will get the job done. Just be realistic about the time it takes and the spots that are easy to miss.
When should I schedule the move-out clean?
Aim to finish two or three days before the handover. That leaves time for your own walkthrough, a missed spot, and any final packing, without turning the last day into a marathon.
Do I need to photograph the clean rooms?
It is a good habit. Photographing each finished room gives you a record of the condition you left behind. If a dispute comes up later, a dated photo is simple, honest evidence on your side.
Wrapping Up
Move out cleaning does not have to be a last-minute panic. Know the standard you are aiming for, check what the landlord expects, work through the unit room by room, and photograph your work when you are done. A little planning turns a stressful job into a manageable checklist, and it protects the hand-back and your references in the process.
The final clean is the last impression you leave on a property, and it is worth doing well. Whether you take a weekend and do it yourself or book a team to handle the deep work, the goal is the same: hand over a home that is ready for its next tenant and close the chapter cleanly.
Need a hand with the deep work? Contact Good Cleaner Co. for a free quote and a move-out cleaning plan tailored to your Ottawa home.
Keep reading
More from Good Cleaner
About the author
Service areas
- Ottawa
- Kanata
- Nepean
- Orléans
- Barrhaven