



Property Management Cleaning Checklist: 12 Easy Move-In/Move-Out Steps
Looking for a property management cleaning checklist that actually prevents disputes and speeds up tenant turnover? A smart move-in and move-out cleaning routine protects the unit, supports deposit conversations, and keeps your rentals compliant with Canadian expectations. This guide covers a complete, room-by-room plan, practical timelines, product recommendations from Canadian stores, and clear cost guidance in CAD.
Whether you manage one condo or a large portfolio, this checklist helps you standardise results. It also shows where professional cleaning services can save time, especially when deadlines are tight. Use it as a repeatable process for every unit, not a one-off deep clean.
We reference Health Canada and CCOHS for safe disinfectant use and ventilation, and we include internal resources like cleaning vs sanitising vs disinfecting so you can plan with confidence.
Why a Property Management Cleaning Checklist Matters in Canada
Tenant turnover is one of the highest-risk moments for complaints, delays, and unexpected costs. A consistent property management cleaning checklist ensures every unit meets the same standard, no matter who performed the work. It also helps property managers document conditions and manage expectations in a fair, transparent way.
Canadian rentals face unique challenges: winter salt tracked in from sidewalks, humid summers that encourage mould, and hard water deposits that build up on fixtures. A checklist keeps these seasonal issues from becoming disputes. If you manage properties in provinces with strict habitability expectations, a documented move-in clean also supports compliance.
Property Management Cleaning Checklist: 12 Easy Move-In/Move-Out Steps
This 12-step flow works for both move-out and move-in. The difference is timing: move-out steps are completed by tenants, while move-in steps are verified and re-cleaned by property managers before keys are handed over.
- Step 1: Document the condition. Take dated photos of every room, especially kitchens, bathrooms, and flooring. A quick photo set reduces back-and-forth on deposits.
- Step 2: Remove trash and personal items. Clear cupboards, closets, and storage areas to prevent hidden odours or pest activity.
- Step 3: Dust from the top down. Start with ceiling corners, vents, and light fixtures to avoid re-dusting finished surfaces.
- Step 4: Deep clean the kitchen. Degrease ovens, wipe cabinet interiors, and remove food residue from fridges and freezers.
- Step 5: Descale bathrooms. Use a limescale remover for shower doors, taps, and tile grout.
- Step 6: Wash walls and baseboards. Focus on scuff marks near doors, light switches, and hallways.
- Step 7: Clean windows and tracks. Clear dust and grime from sliders to improve airflow and appearance.
- Step 8: Treat floors by material. Vacuum carpets, mop hard floors, and use the right cleaner for laminate or hardwood.
- Step 9: Sanitise high-touch points. Disinfect handles, switches, and appliance controls using labelled products.
- Step 10: Deodorise and ventilate. Open windows and run fans for 24 hours to clear chemical odours.
- Step 11: Final inspection. Walk the unit using a checklist and note any remaining issues.
- Step 12: Lock in the standard. Store the completed checklist and photo set with the lease file.
Move-Out Cleaning Checklist Overview (Tenant-Focused)
Move-out cleaning is typically the tenant’s responsibility, but property managers should know the standard to evaluate fairness and communicate expectations clearly. Plan for 8 to 12 hours of work for a 1,000 sq ft unit, plus extra time for drying.
- Timing: Start 2–3 days before the move-out inspection to allow for drying and odour clearing.
- Difficulty: Moderate to high, especially in kitchens, bathrooms, and carpets.
- Documentation: Photos and a room-by-room checklist reduce disagreements.
Move-Out Cleaning Checklist: Room-by-Room Steps
Use the sections below as the move-out standard. Adjust for unit size and any lease-specific requirements.
Kitchen: Grease, Appliances, and Cabinets
- Fridge and freezer: Empty, unplug if possible, and wipe down with a baking soda solution.
- Oven and stovetop: Degrease racks and interiors; remove burnt-on residue.
- Range hood and backsplash: Wipe filters and degrease the splash zone.
- Cabinets and drawers: Clean inside and outside, remove crumbs and sticky residue.
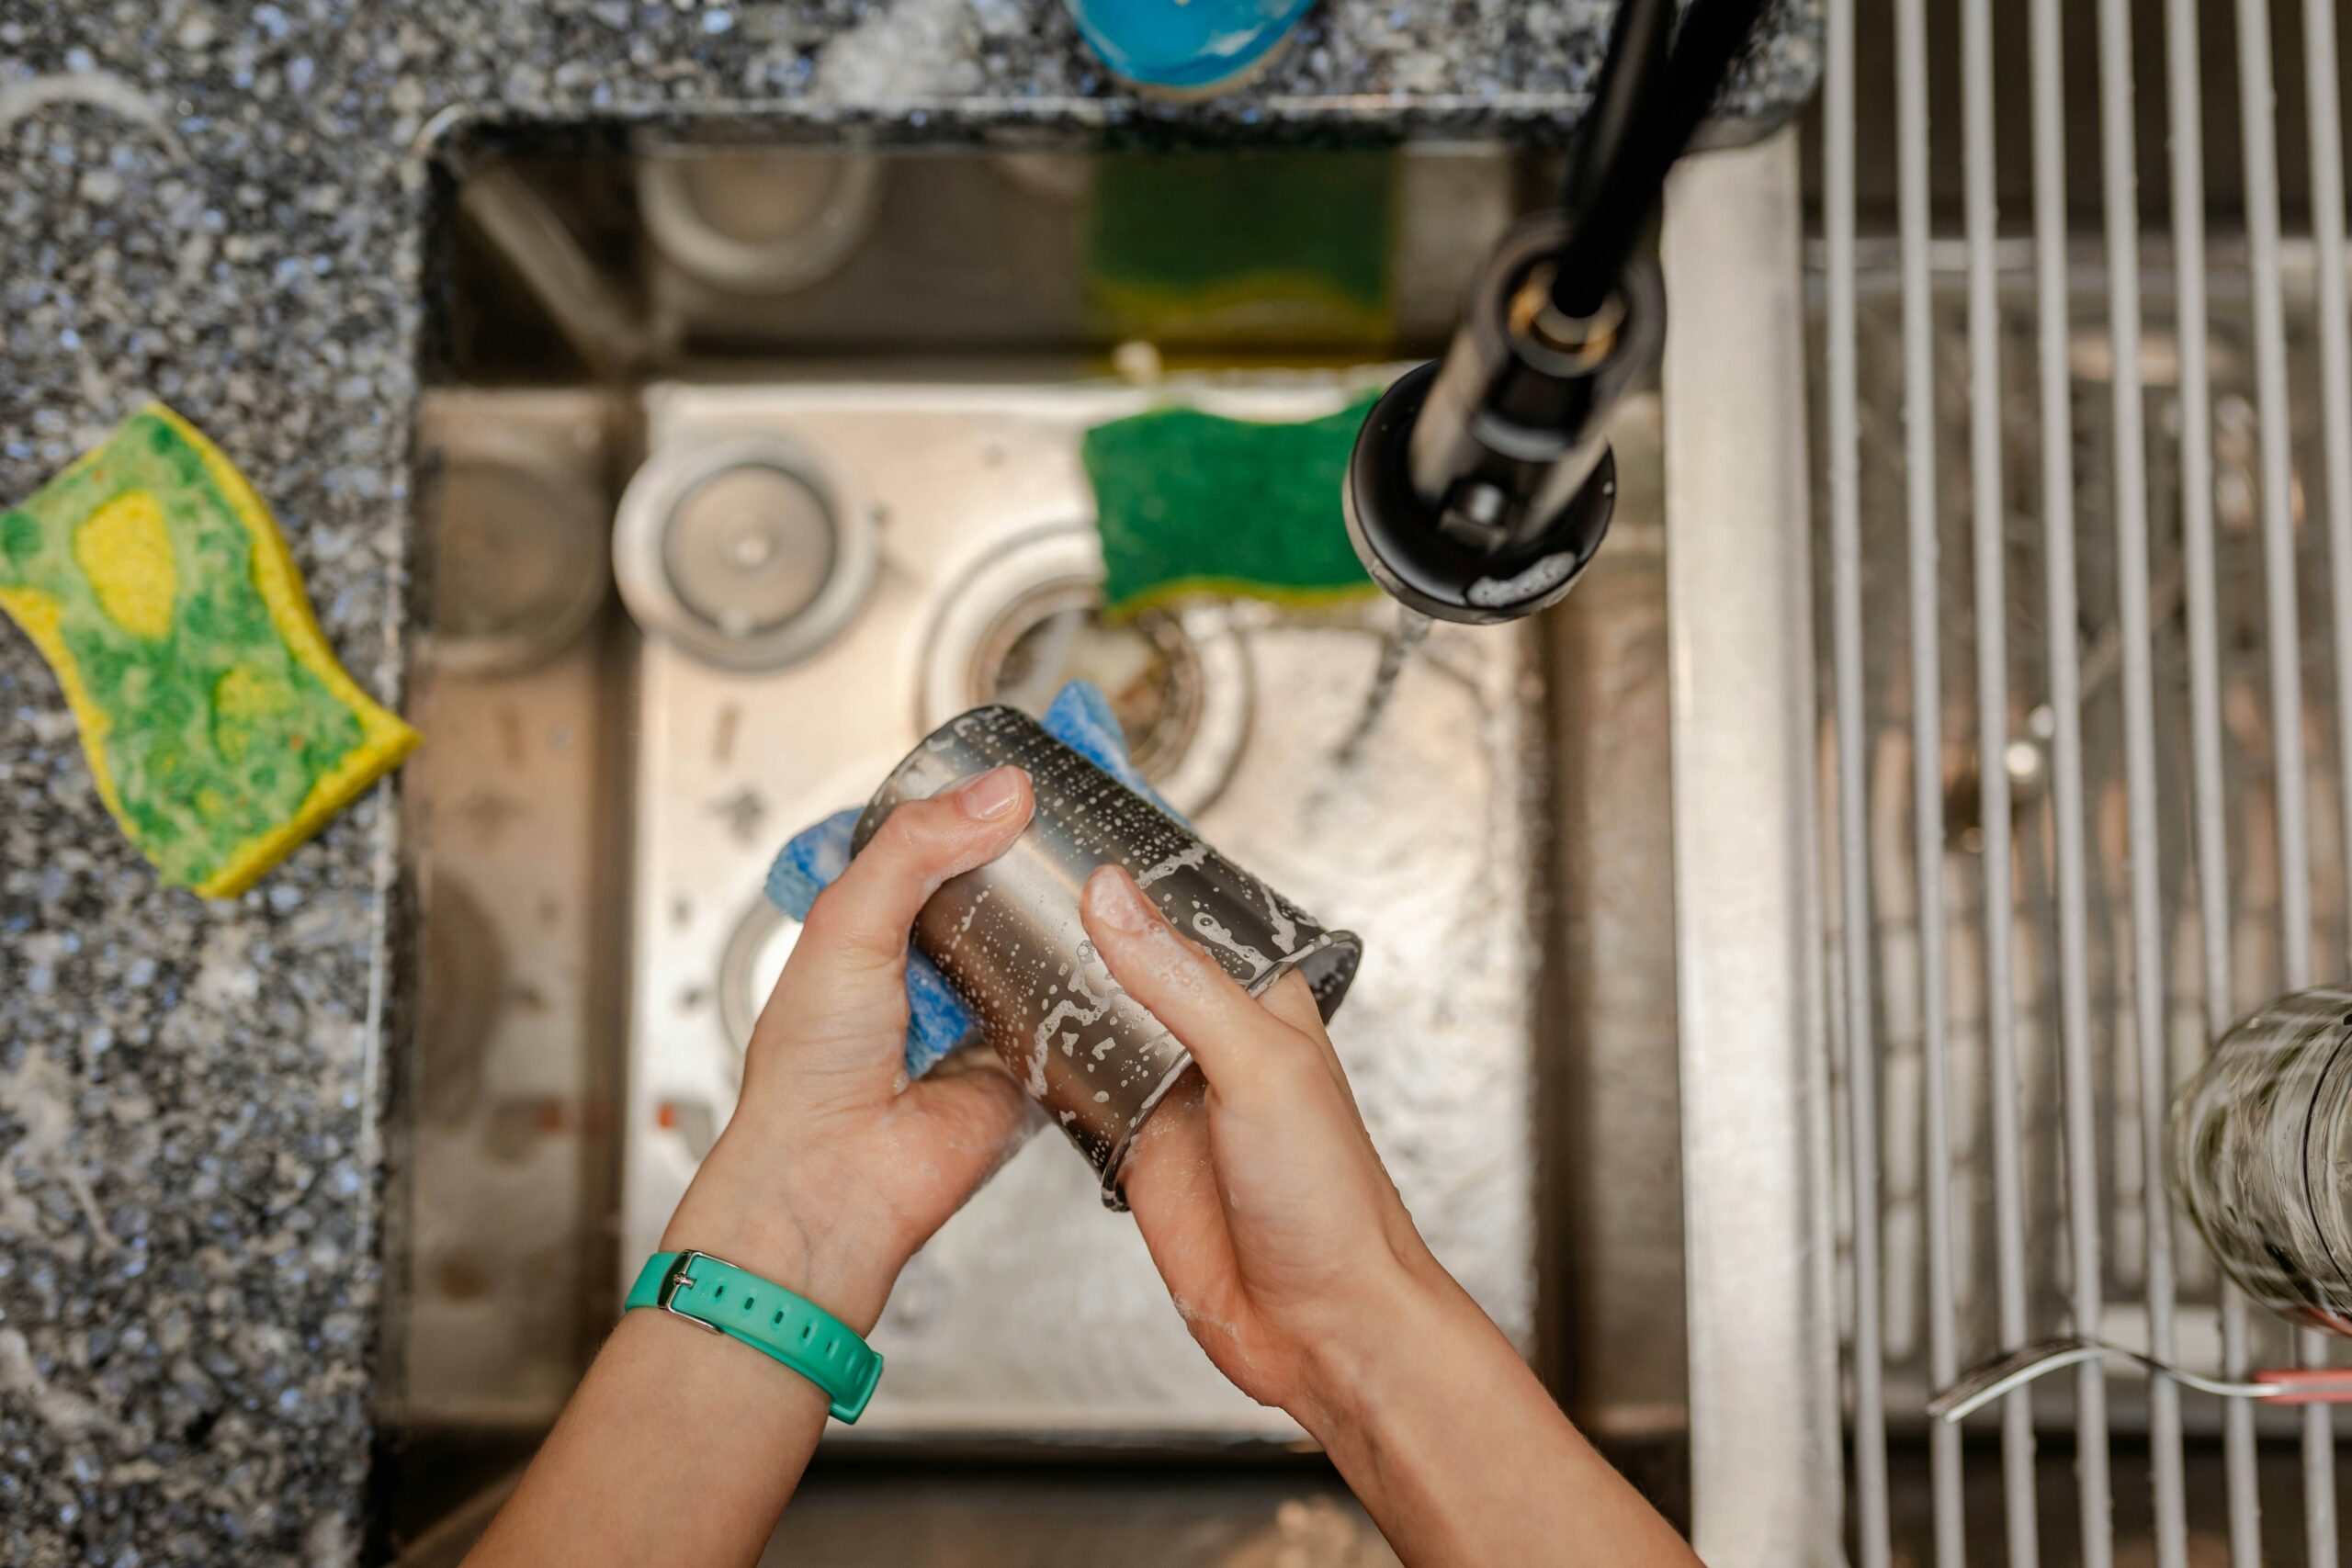
- Sink and tap: Remove limescale, then polish to prevent spots.
Bathrooms: Scale, Soap Scum, and Odours
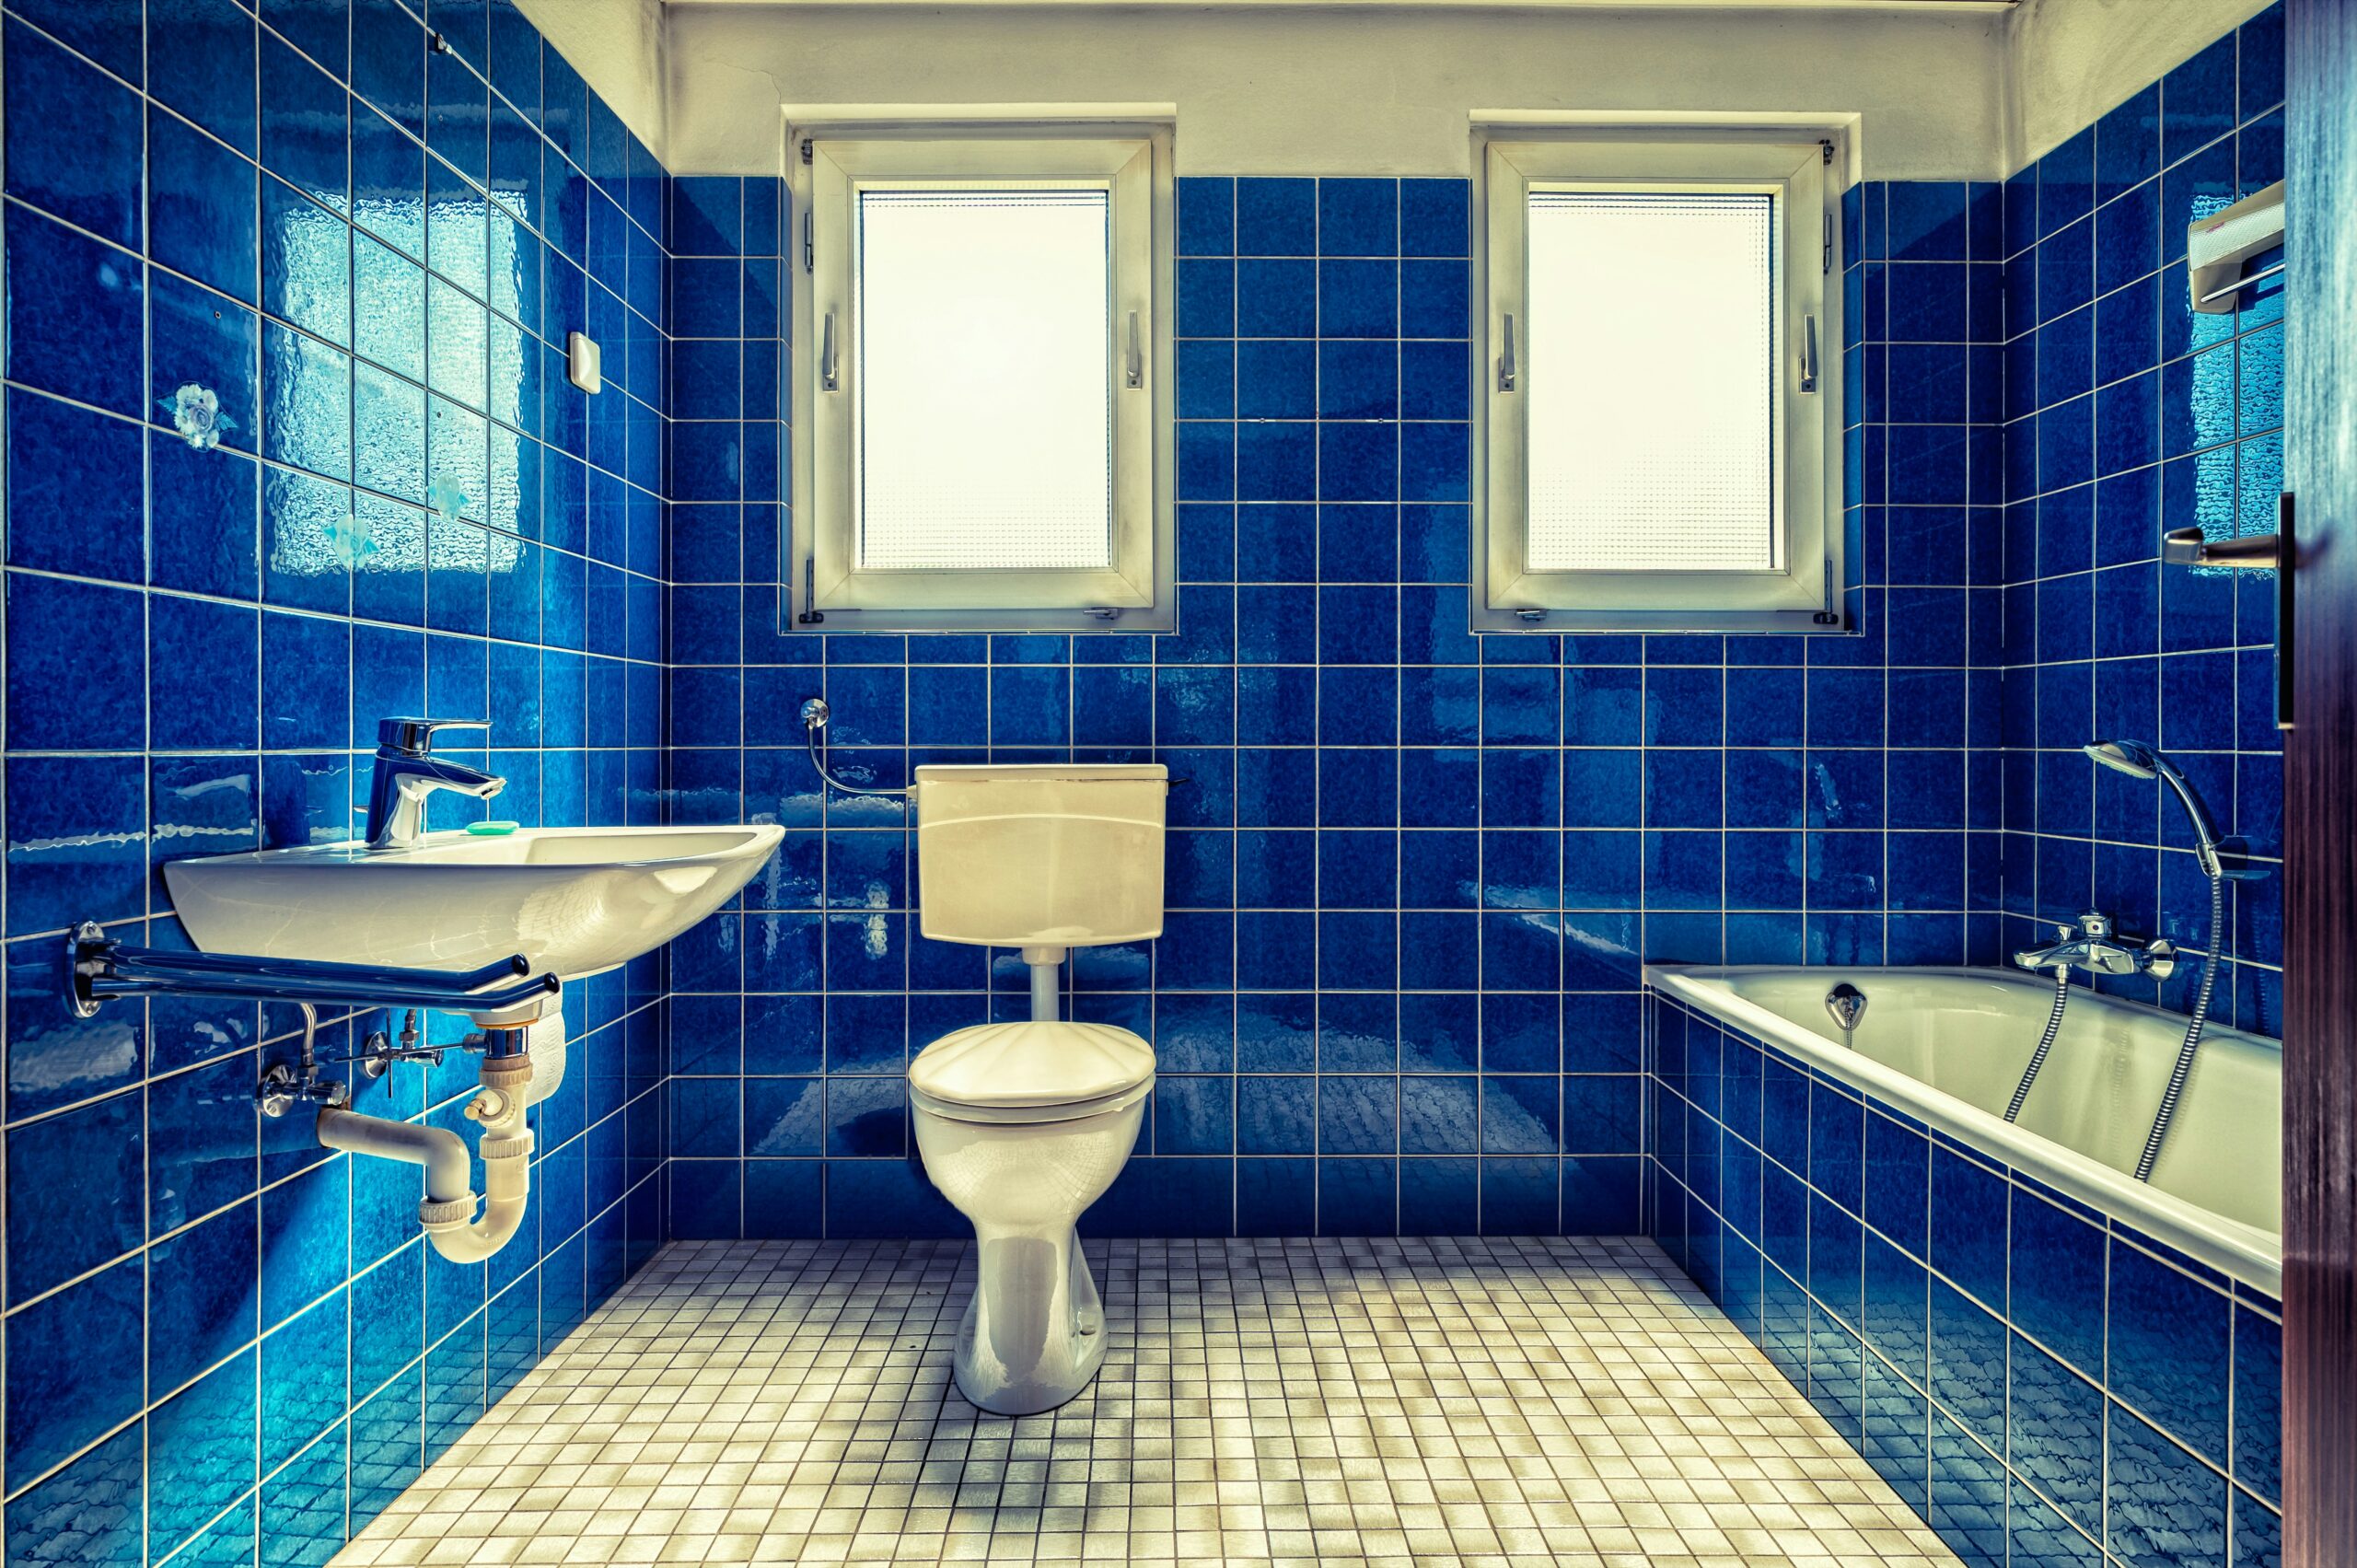
- Toilet: Clean bowl, rim, and exterior; disinfect all touch points.
- Shower and tub: Remove soap scum and mineral deposits; check grout and caulking.
- Tile and grout: Use a limescale remover for hard water marks.
- Sink and mirror: Polish fixtures and streak-free glass.
- Drain and vent: Remove hair and wipe vents to reduce humidity buildup.
Bedrooms and Living Areas: Dust and Floors
- Baseboards and trim: Dust and wipe for scuffs.
- Light fixtures: Remove dust and insects from covers.
- Walls: Spot clean fingerprints and marks.
- Floors: Vacuum carpets and mop hard floors; shampoo if stained.
- Windows: Clean glass and tracks; check for streaks.
Laundry and Utility Areas: Appliances and Safety
- Washer and dryer: Clean interior drums and wipe outer surfaces.
- Lint traps: Remove lint and vacuum the lint slot.
- Smoke and CO alarms: Test and replace batteries as needed.
- Filters and vents: Change furnace or HVAC filters where accessible.
Replacing worn tools is part of a professional standard. If you manage supplies across properties, see cleaning tools you should replace often to keep standards consistent.
Exterior and Entry: First Impressions Matter
- Entryway floors: Remove winter salt residue to prevent damage.
- Porches and patios: Sweep and remove debris.
- Door handles and railings: Wipe and disinfect.
Deep Clean Details for High-Dispute Areas
Some areas trigger the most move-out disagreements and move-in complaints. Use these detail checks to avoid missed spots that tenants notice immediately.
Oven and Range Hood Reset
Oven grease is one of the most common reasons for deductions. Remove racks, apply a degreaser, and let it dwell before scrubbing. Clean the door gasket and the inside window to eliminate burn marks that remain after standard wiping.
- Range hood filters: Soak in hot water with degreaser and rinse fully.
- Knobs and controls: Remove and clean to prevent sticky residue.
- Stovetop edges: Use a detail brush to clear crumbs.
Fridge and Freezer Hygiene
Odours in the fridge are a quick way to lose tenant trust. Empty all shelves, wipe with a mild solution, and allow the interior to dry fully with the door open. If the unit will sit vacant, leave a box of baking soda inside.
Bathroom Grout and Caulking
Grout discoloration and mould can escalate quickly in humid Canadian regions. Use a grout-safe cleaner and a soft brush. If caulking is cracked or mouldy, re-caulk before move-in to prevent future leaks and complaints.
Windows, Tracks, and Screens
Clean glass is easy to see, but dirty tracks and screens are just as noticeable. Vacuum tracks before wiping, and remove screens to rinse off dust and pollen. This improves airflow and reduces allergen concerns for new tenants.
Move-In Cleaning Checklist Overview (Property Manager Focused)
Move-in cleaning is your opportunity to deliver a “ready to live” unit. It should be documented with photos and verified after the move-out clean to confirm no missed areas. Budget 6 to 10 hours for a 1,000 sq ft unit, depending on condition.
- Inspection first: Check appliances, outlets, and ventilation before cleaning.
- Deep clean second: Sanitize high-touch areas and re-clean key surfaces.
- Document last: Photograph each room and note any damage.
Move-In Cleaning Checklist: Ready-for-Tenant Standard
Initial Inspection and Repairs
- Appliances: Test stove, fridge, dishwasher, and microwave.
- Filters and vents: Replace HVAC filters, check bathroom exhaust fans.
- Caulking: Seal gaps around tubs and sinks in humid regions.
- Windows and screens: Ensure smooth operation and intact screens.
Deep Clean and Sanitisation
Focus on high-touch surfaces and areas that accumulate bacteria. Health Canada recommends approved disinfectants and proper dilution. For safe use, follow product labels and ventilation guidance from Health Canada and CCOHS.
If you use bleach, follow label directions carefully. A common guideline for hard, non-porous surfaces is a diluted solution (for example, 1:50) with proper ventilation and rinsing where required.
- Handles and switches: Disinfect doorknobs, switches, and cabinet pulls.
- Kitchen surfaces: Sanitise counters, faucets, and appliance handles.
- Bathroom surfaces: Disinfect toilet seats, taps, and flush levers.
- Floors: Mop with a disinfecting solution suitable for the floor type.
Floors and Walls for Odour Control
- Carpets: Steam-clean to remove pet odours and stains.
- Walls: Wash scuff marks, especially near doors and switches.
- Baseboards: Wipe to remove dust and debris.
Use this move-in process as the standard in your move-in cleaning checklist so every tenant sees a consistent level of care.
Flooring-by-Material Cleaning Guide
Different floors need different methods. A one-size-fits-all approach can damage finishes and cause complaints during inspections.
Carpet
- Vacuum slowly with a HEPA filter to remove grit and salt dust.
- Spot treat stains with enzyme cleaners, then shampoo or steam-clean.
- Allow 8–12 hours of drying time before move-in to prevent odour.
Hardwood and Engineered Wood
- Use a damp (not wet) mop to avoid warping boards.
- Choose pH-neutral cleaners and avoid harsh ammonia.
- Check for winter salt at entryways and wipe immediately.
Laminate and Vinyl
- Vacuum first to remove grit that can scratch the surface.
- Use a manufacturer-approved solution to avoid dulling.
- Dry the surface fully to prevent seams from swelling.
Tile
- Scrub grout lines with a soft brush and limescale remover.
- Rinse thoroughly to avoid residue that attracts dirt.
- Seal grout if the surface is porous and the owner approves.
Realistic Timing and Difficulty for Turnover Cleaning
Turnover cleaning often takes longer than expected because small details add up. Use the ranges below to set expectations.
- Studio or 1-bedroom: 5–8 hours, moderate difficulty.
- 2-bedroom: 8–12 hours, moderate to high difficulty.
- 3-bedroom+: 12–18 hours, high difficulty with more surfaces.
- Carpet shampoo: Add 2–4 hours and drying time.
For tighter timelines, consider professional crews that can complete a full clean in 2–4 hours. For help comparing options, review cleaning services FAQs before scheduling.
Turnover Scheduling and Staffing Tips
Scheduling is where most turnovers fail. Even if the cleaning is excellent, delays can push move-in dates and create conflicts. Build a standard schedule that everyone on your team can follow.
For a typical unit, aim to book cleaning within 24 hours of move-out. This leaves time for repairs and gives you a buffer if drying takes longer than expected. If you manage multiple units, group cleanings by building to reduce travel time and simplify supply management.
- Day 1 (Move-out): Trash removal, preliminary inspection, and documentation.
- Day 2: Full deep clean and carpet treatment if required.
- Day 3: Final walk-through, touch-ups, and key handover prep.
When you only have one day, prioritise high-visibility areas first: kitchens, bathrooms, and floors. For large units, assign zones to team members and use the same property management cleaning checklist across all staff to keep results consistent.
Common Move-In and Move-Out Cleaning Mistakes to Avoid
- Skipping documentation: Photos and checklists reduce deposit disputes.
- Ignoring ovens and fridges: Hidden odours can trigger complaints.
- Overlooking vents and filters: Dusty vents increase allergens.
- Forgetting winter salt: Salt can pit floors and stain entryways.
- Leaving personal items: Unremoved belongings can attract pests.
Most complaints come from a handful of missed areas. A standardised property management cleaning checklist makes it easier to catch those details.
Tips and Tricks for Faster, Safer Turnovers
- Work top to bottom so dust does not re-settle on cleaned surfaces.
- Use microfiber cloths for dust control and fewer streaks.
- Tackle one room per day for larger units with tight schedules.
- Ventilate for 24 hours after using strong cleaners.
- Use eco-friendly options like vinegar for odour neutralising.
For a deeper look at checklist planning, see cleaning checklist basics. Many of the same principles apply to tenant turnover cleaning.
Safety and Chemical Handling for Turnover Cleaning
Safety is a legal and practical requirement. CCOHS recommends adequate ventilation and proper PPE when using concentrated cleaners. Avoid mixing chemicals, especially bleach with ammonia, and always follow label directions.
- Ventilation: Open windows, run exhaust fans, and allow air exchange during and after cleaning.
- PPE: Wear gloves and a mask when using strong disinfectants.
- Label compliance: Only use products approved for the surface type.
- Storage: Keep chemicals locked during turnover to prevent access by contractors or tenants.
Quality Control Walk-Through (Manager Checklist)
Before keys are released, a manager should walk the unit with a checklist and quick tests. This small step prevents call-backs and builds trust with new tenants.
- Smell test: Enter the unit after it has been closed for two hours. Any odour means a hidden source.
- Light test: Turn on overhead lights to reveal streaks on glass and walls.
- Touch test: Run a finger along baseboards and shelf tops for dust.
- Appliance test: Open the fridge and oven to check for lingering food odours.
- Floor test: Walk in socks to check for gritty residue or sticky areas.
DIY vs Professional Turnover Cleaning in Canada
DIY can work for light turnovers, but it often underestimates time and misses deep sanitising. Professional teams deliver consistent results across multiple units and meet safety standards faster.
| Aspect | DIY (CAD, 1,000 sq ft unit) | Professional (CAD, 1,000 sq ft unit) |
|---|---|---|
| Supplies (Canadian Tire, Walmart Canada) | $50–150 | Included |
| Equipment rental (carpet cleaner) | $100–200 | Included |
| Labour time | 8–16 hours (2 people) | 2–4 hours (crew) |
| Waste disposal | $50–100 | Included |
| Total estimate | $200–950 | $300–800 typical; $400–1,200 in high-cost cities |
In practice, DIY supplies often land in the $100–$250 CAD range when you buy in bulk, but costs rise quickly when you add carpet equipment and extra labour. When time is tight, professional move-out cleaning can prevent rework and reduce delays. For portfolios with multiple units, a reliable service helps standardise quality and protect your reputation.
When to Hire Professionals Instead of DIY
DIY can still be a smart choice for lightly used units, but there are situations where pros deliver better value and lower risk. If a unit has heavy grease, smoke residue, pet odours, or post-eviction clutter, professional crews have the equipment and products to finish the job without repeat visits.
- Large units: 800+ sq ft often require more than one day of labour for DIY teams.
- Tight timelines: Same-day turnovers usually demand a pro crew.
- Compliance: Professional teams follow safety standards and reduce liability.
- Consistency: Portfolios benefit from a single service standard across all properties.
Best Products and Tools for Move-In/Move-Out Cleaning (Canada)
Use products that are effective, safe, and easy to source locally. The items below are common in Canadian retail stores and align with Health Canada’s guidance on approved disinfectants.
- Simple Green Industrial Cleaner & Degreaser (Canadian Tire or Amazon.ca, $20–$40 CAD): heavy grease and salt residue.
- CLR Bathroom Cleaner (Home Hardware, $8–$15 CAD): limescale and hard water deposits.
- Lysol Multi-Purpose Cleaner (Walmart Canada, $6–$12 CAD): disinfection on hard surfaces.
- Zep Heavy-Duty Floor Stripper (Home Hardware, $25–$50 CAD): removing old wax build-up.
- Swiffer WetJet Solution (Costco Canada, $15–$25 CAD): quick floor mopping between tenants.
- Mr. Clean Febreze Carpet Cleaner (Loblaws/Superstore, $10–$20 CAD): freshening carpets and upholstery.
- Moldex Instant Mold Remover (Amazon.ca, $12–$18 CAD): spot treatments in humid areas.
For eco-friendly options, white vinegar and baking soda are budget-friendly and effective for odour control. Club soda can lift fresh stains, and a few drops of essential oils can add a light, non-irritating scent. Avoid ammonia in closed spaces, and always ventilate for safe air quality.
Professional-grade cleaners are best for heavy move-out jobs, especially greasy kitchens or salt-damaged floors. Consumer products work well for light touch-ups between tenants but may require more time and repeat applications. Always follow dilution and rinse guidance to prevent slippery residue.
Essential Tools and Consumables Checklist
Supplies influence results as much as technique. Standardise tools across your portfolio so every unit is cleaned to the same level.
- Microfiber cloths in multiple colours for kitchen and bathroom separation.
- Non-scratch scrub pads for bathtubs and stovetops.
- Detail brushes for grout lines and faucet bases.
- HEPA vacuum to reduce allergens and fine dust.
- Extension duster for vents, high corners, and light fixtures.
- Floor squeegee for fast drying on tile and vinyl.
- Garbage bags and gloves for safe waste handling.
Seasonal Cleaning Considerations for Canadian Rentals
Seasonal factors can make or break a turnover. A strong rental cleaning process accounts for regional conditions.
- Winter: Remove salt residue from entry floors and baseboards to avoid pitting and discolouration.
- Spring: Check for moisture damage, especially in basements.
- Summer: Address humidity issues that can lead to mould.
- Fall: Clean gutters and exterior areas to prevent debris buildup.
If you manage mixed-use or multi-tenant properties, seasonal planning matters even more. For a broader understanding of residential vs commercial standards, see commercial vs residential cleaning differences.
Odour Control and Pest Prevention
Hidden odours often trigger complaints in the first week of a new lease. Address them before move-in, and your turnover issues drop dramatically.
- Fridge and freezer: Place baking soda inside after cleaning.
- Carpets: Use enzyme cleaners for pet odours and allow full drying.
- Trash areas: Clean bins and lids, especially under-sink containers.
- Entry points: Seal gaps around doors and baseboards to reduce pests.
Documentation and Tenant Communication
Cleaning is only half the work. Documentation protects both tenant and landlord. Use a consistent process:
- Move-out inspection form: Note condition and take photos of key rooms.
- Move-in checklist: Confirm the unit is clean and ready, then have tenants sign.
- Photo evidence: Store date-stamped images for 12 months or per policy.
- Repair notes: Track any issues found during cleaning for maintenance follow-up.
Clear communication is just as important. Provide tenants with a simple move-out checklist two weeks before departure and confirm expectations in writing. This reduces last-minute surprises and gives them time to book services if needed.
Some provinces have specific guidance on what counts as “reasonable cleanliness.” If you operate in Ontario, see the Residential Tenancies Act for landlord and tenant obligations. Always confirm local rules in your province.
How Often Is Turnover Cleaning Required?
- Every tenant change: Full clean each time a unit turns over.
- Quarterly spot cleans: High-traffic units benefit from seasonal touch-ups.
- Biannual deep cleans: For long-term tenants or multi-unit buildings.
As a general rule, assume a deep clean at least once per year. In high-humidity areas or winters with heavy salt, increase frequency to protect surfaces and indoor air quality.
Property Management Cleaning Checklist Summary (Quick Reference)
Use this condensed list for inspections and internal tracking.
- Kitchen: Oven, fridge, sink, cabinets, backsplash, floors.
- Bathroom: Toilet, shower, tub, grout, mirror, vents.
- Living areas: Baseboards, windows, floors, light fixtures.
- Laundry/utility: Washer, dryer, lint, filters, alarms.
- Entry/exterior: Door, hardware, salt removal, porch sweep.
This summary supports consistent results across your portfolio, and it helps staff follow a property management cleaning checklist without missing details.
Frequently Asked Questions
How often should a property management cleaning checklist be used?
Use a property management cleaning checklist at every tenant turnover. For student housing or high-traffic rentals, add quarterly spot cleans and seasonal deep cleaning to prevent buildup.
What is the difference between move-in and move-out cleaning?
Move-out cleaning is typically tenant-focused and emphasises deep cleaning to recover deposits. Move-in cleaning is the property manager’s responsibility and confirms the unit is safe, sanitary, and ready for occupancy.
How much does professional turnover cleaning cost in Canada?
For a 1,000 sq ft unit, professional cleaning usually ranges from $300–$800 CAD, with higher rates in large cities like Toronto or Vancouver. Heavy-duty jobs or post-eviction cleans may be higher.
What products are best for move-in and move-out cleaning in Canada?
Popular options include Simple Green for degreasing, CLR for limescale, and Lysol for disinfecting. These are widely available at Canadian Tire, Home Hardware, Walmart Canada, and Loblaws/Superstore.
How long should a unit sit after cleaning before move-in?
Ideally, allow 12 to 24 hours for ventilation and drying, especially after carpet shampooing or strong disinfectant use. This prevents lingering odours and ensures floors are fully dry before tenants move in.
Do property managers need professional documentation for every turnover?
You do not need a formal report, but you should have a consistent checklist and photo set. Clear documentation reduces disputes and shows that the unit met a reasonable standard at move-in.
Are there regulations about cleanliness before a tenant moves in?
Provincial tenancy laws require habitable conditions and reasonable cleanliness. Some jurisdictions use “broom-clean” language, while others refer to a standard of reasonable cleanliness. While there is no single federal cleaning code, landlords are generally responsible for ensuring a sanitary unit before move-in.
Is DIY cleaning worth it for property managers?
DIY works for light turnovers, but it often takes 20–40 hours of labour when factoring in equipment rentals and drying time. For portfolio managers, professional cleaning is usually more predictable and cost-efficient.
How can we reduce disputes about cleaning standards?
Use move-in and move-out forms, document with photos, and communicate cleaning expectations in advance. A standard checklist reduces subjective disagreements.
Conclusion
A clear, consistent property management cleaning checklist keeps your properties ready for new tenants, protects your asset value, and reduces disputes. From kitchen degreasing to bathroom sanitisation, the details make the difference in a successful turnover. It also simplifies staff training and quality control.
Need help with move-in or move-out cleaning? GoodCleaner cleaning services can handle deep cleans, tight timelines, and multi-unit portfolios. Contact GoodCleaner for a free quote and a customised cleaning plan.