


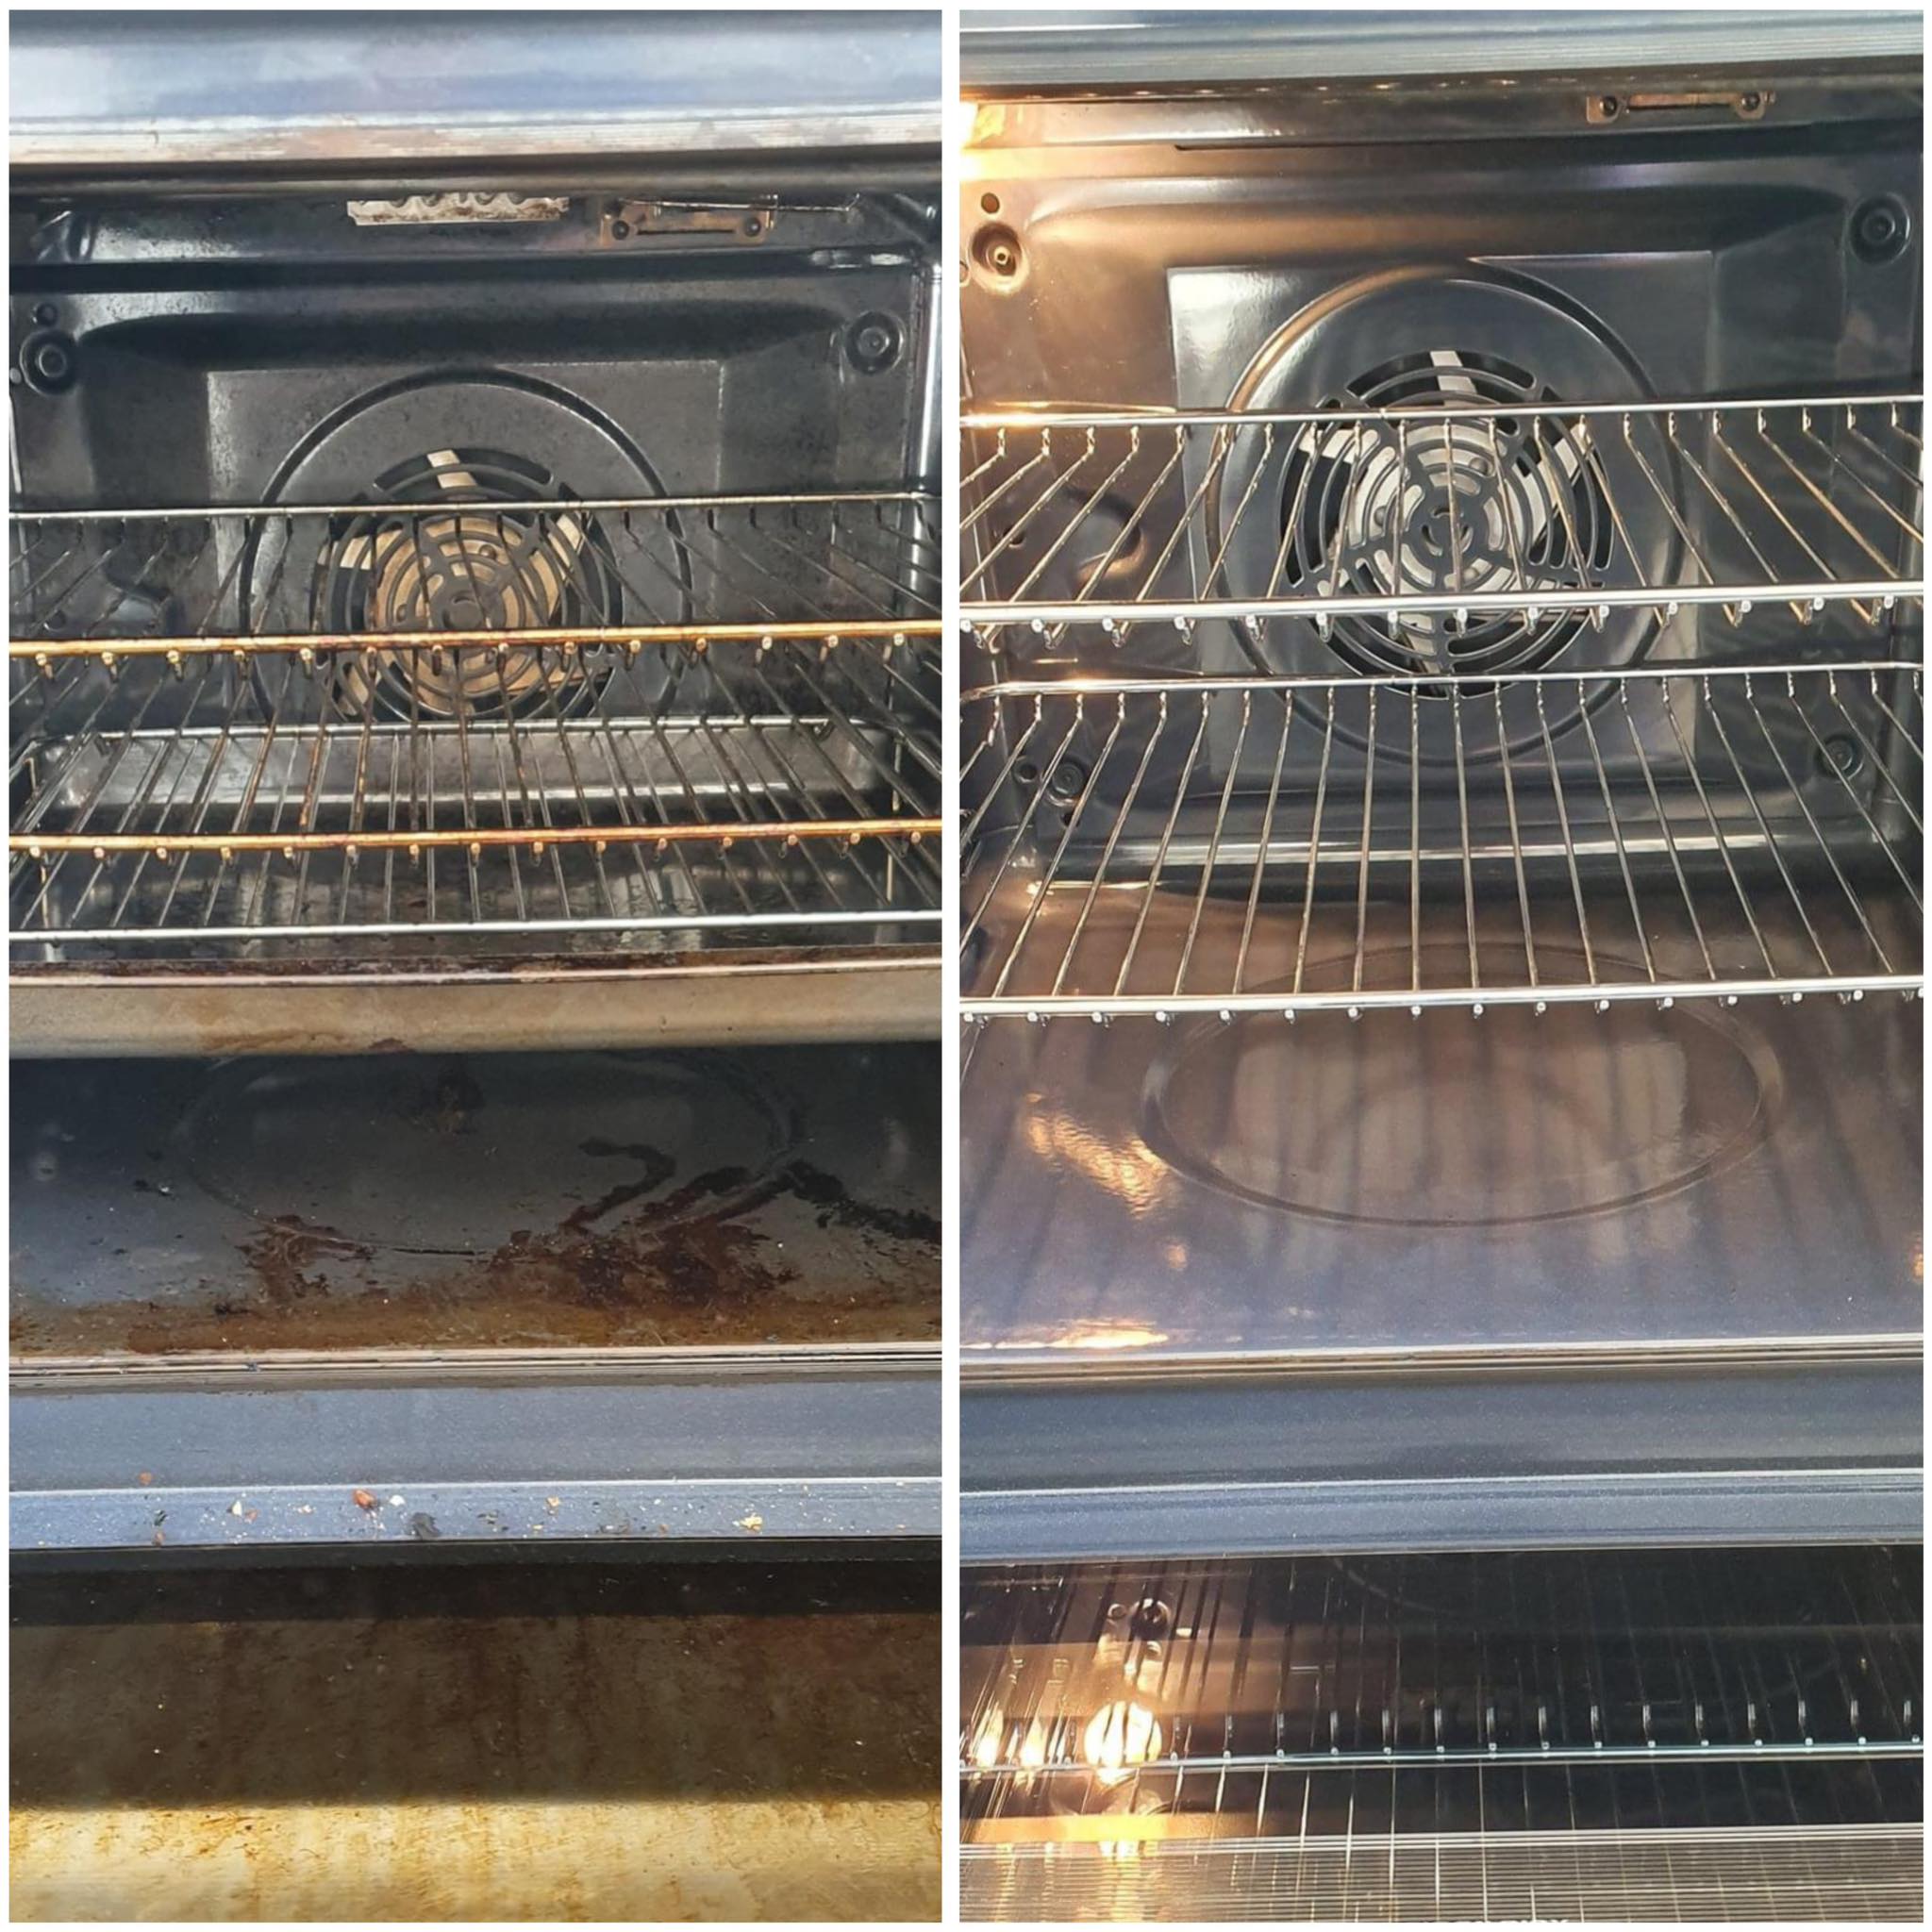
How to Clean Oven Properly like a Pro – Using Easy-Off
Keeping your oven clean is not just about maintaining a spotless kitchen; it’s about ensuring that your appliance operates efficiently and safely. A clean oven also means better tasting food, as leftover residues from previous meals can affect your cooking. Today, I’ll walk you through the process of cleaning your oven using one of the most popular products on the market: Easy-Off Oven Cleaner.
Step 1: Prepare Your Oven
Before you begin, it’s essential to prepare your oven and ensure that it is safe to start the cleaning process:
- Remove the oven racks. These can be cleaned separately in a sink or bathtub using dish soap and water or a specialized cleaning product.
- Wear protective gear. Oven cleaners, including Easy-Off, contain chemicals that can be harsh. It is crucial to wear rubber gloves, a mask, and consider eye protection if you have sensitive eyes or respiratory issues. Always prioritize your safety by using this protective gear, as the chemicals are powerful and can cause irritation.
- Ventilate the area. Open windows or turn on an exhaust fan to minimize the inhalation of fumes.
Step 2: Apply Easy-Off Oven Cleaner
Easy-Off comes in a few different formulas, including a fume-free version that is ideal for those with sensitive noses or concerns about harsh chemicals. Here’s how to apply it:
- Choose the right formula for your needs. If your oven is heavily soiled, you might prefer the heavy-duty version.
- Spray the interior surfaces of your oven. Avoid the heating elements and thermostat. Coat the bottom, sides, top, and door with an even layer of cleaner. Important: Easy-Off is suitable only for enamel interiors and should not be used on exposed metal or elements, chrome, aluminum, or plastic parts as it can cause damage or discoloration.
- Close the oven door. Let the cleaner work for the time recommended on the product label, which can range from 20 minutes for light cleaning to overnight for a deep clean.
Step 3: Cleaning Time
After you have allowed the cleaner to sit for the recommended time:
- Wipe down the oven. Using a damp sponge or cloth, wipe away the oven cleaner and the grime it has loosened. You may need to rinse your sponge frequently with water to ensure you are not just spreading the grease around.
- Tackle tough spots. If there are stubborn areas that aren’t coming clean, consider waiting another 10 minutes before wiping again. Trust the process; the cleaner is designed to break down even the toughest residues.
- Dry the interior. Once all the residue is removed, dry the oven with a clean cloth.
Step 4: Clean the Oven Racks
While the Easy-Off works its magic inside the oven, this is a good time to clean the racks:
- Soak the racks. If you have not already, soak the racks in hot soapy water for a few hours, then scrub them with a non-abrasive scrubber or brush. Rinse thoroughly.
- Dry the racks. Before placing them back in the oven, make sure they are completely dry to avoid rusting.
Step 5: Reassemble and Test
Once everything is clean and dry:
- Reinstall the oven racks. Carefully place them back inside the oven.
- Perform a test run. Heat the oven to a low temperature (like 350°F) for about 15 minutes to ensure that all cleaner residues are burned off and that there is no cleaner smell remaining.
Tips and Tricks
- Regular maintenance. To minimize the need for heavy-duty cleaning sessions, wipe up spills as soon as they cool down enough to be safely cleaned.
- Safety first. Never spray oven cleaner on hot surfaces or near an open flame.
- Spot test. If you are using Easy-Off or any new cleaner for the first time, test it on a small, inconspicuous area to ensure it doesn’t discolor or damage your oven’s interior.
A clean oven ensures safer cooking, better energy efficiency, and tastier meals. By following these steps and using a reliable product like Easy-Off, you can maintain a pristine oven that complements your delicious home cooking. Happy cleaning!

