
How To Clean A Burnt Stainless Steel Pan
A burnt stainless steel pan looks like a lost cause, but it almost never is. Most burnt-on messes are carbonized food and oil that soften in minutes when you give them heat and moisture. This guide covers the soak-and-simmer method our crews rely on in the kitchens they clean, the supplies you already own, and the mistakes that turn a fixable pan into a scratched one.
Quick Summary
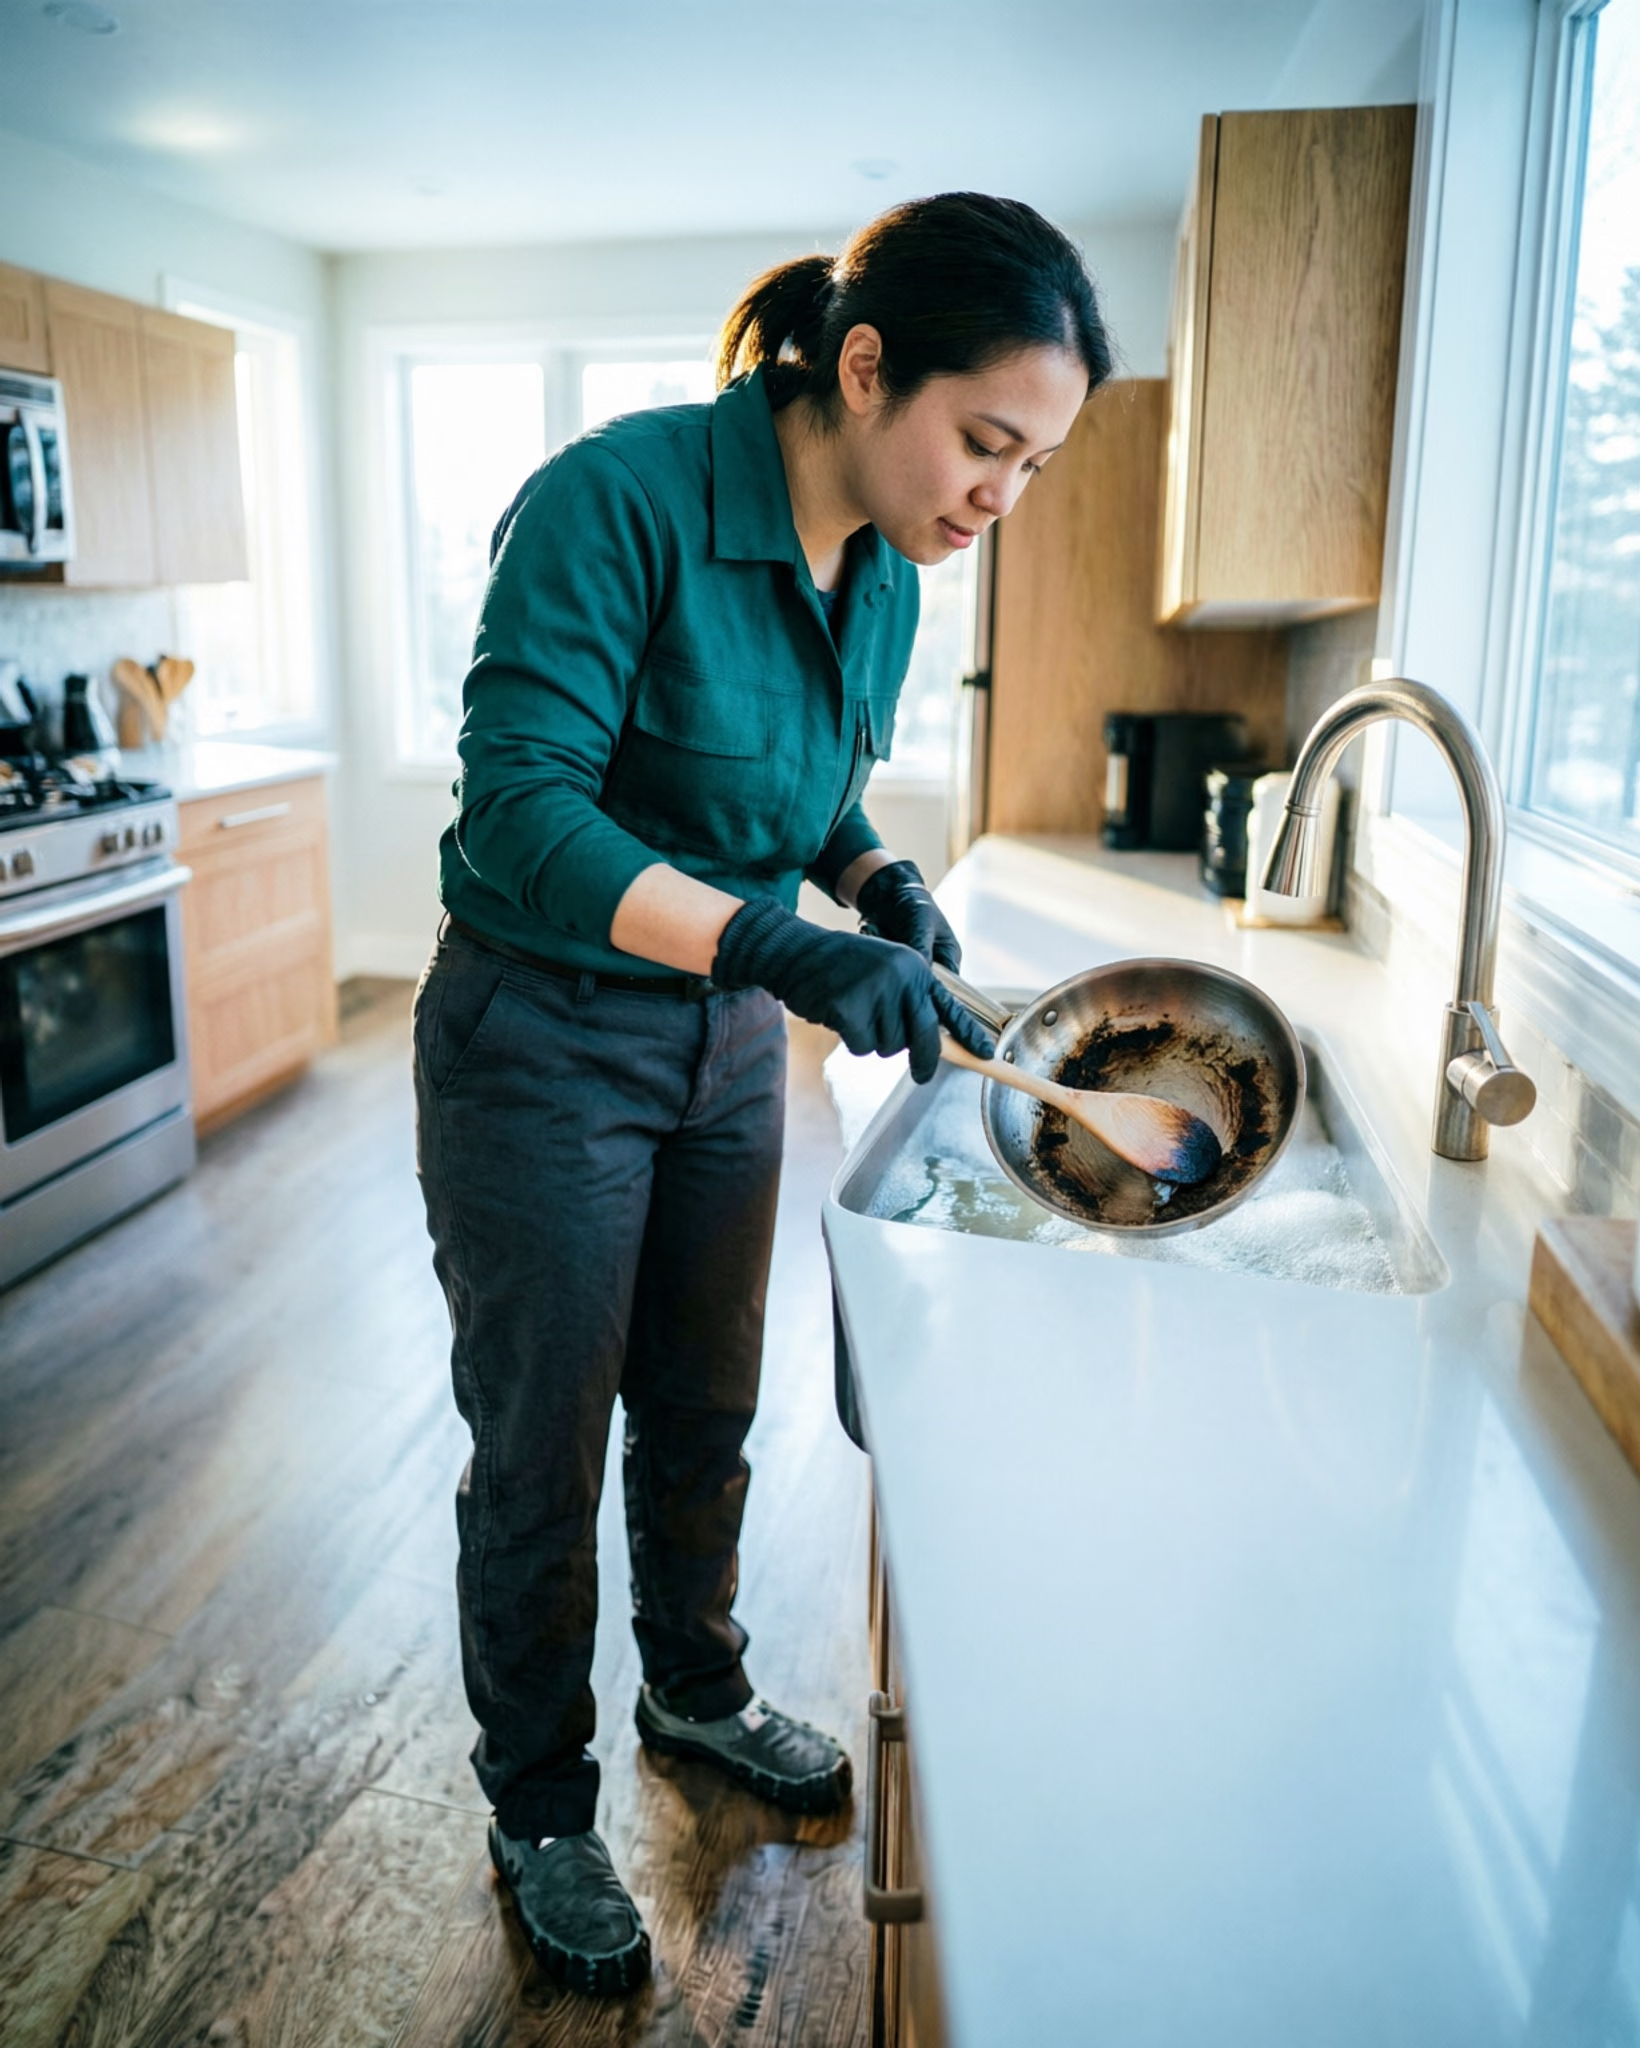
Burnt-on food on stainless steel usually lifts with a simmer of water, vinegar and baking soda, followed by a gentle scrub, no hard scraping needed. Cast iron, non-stick, copper and aluminium pans need different, gentler methods, so matching the technique to the material protects the finish while restoring the shine.
In this guide
Why Burnt-On Food Happens in the First Place
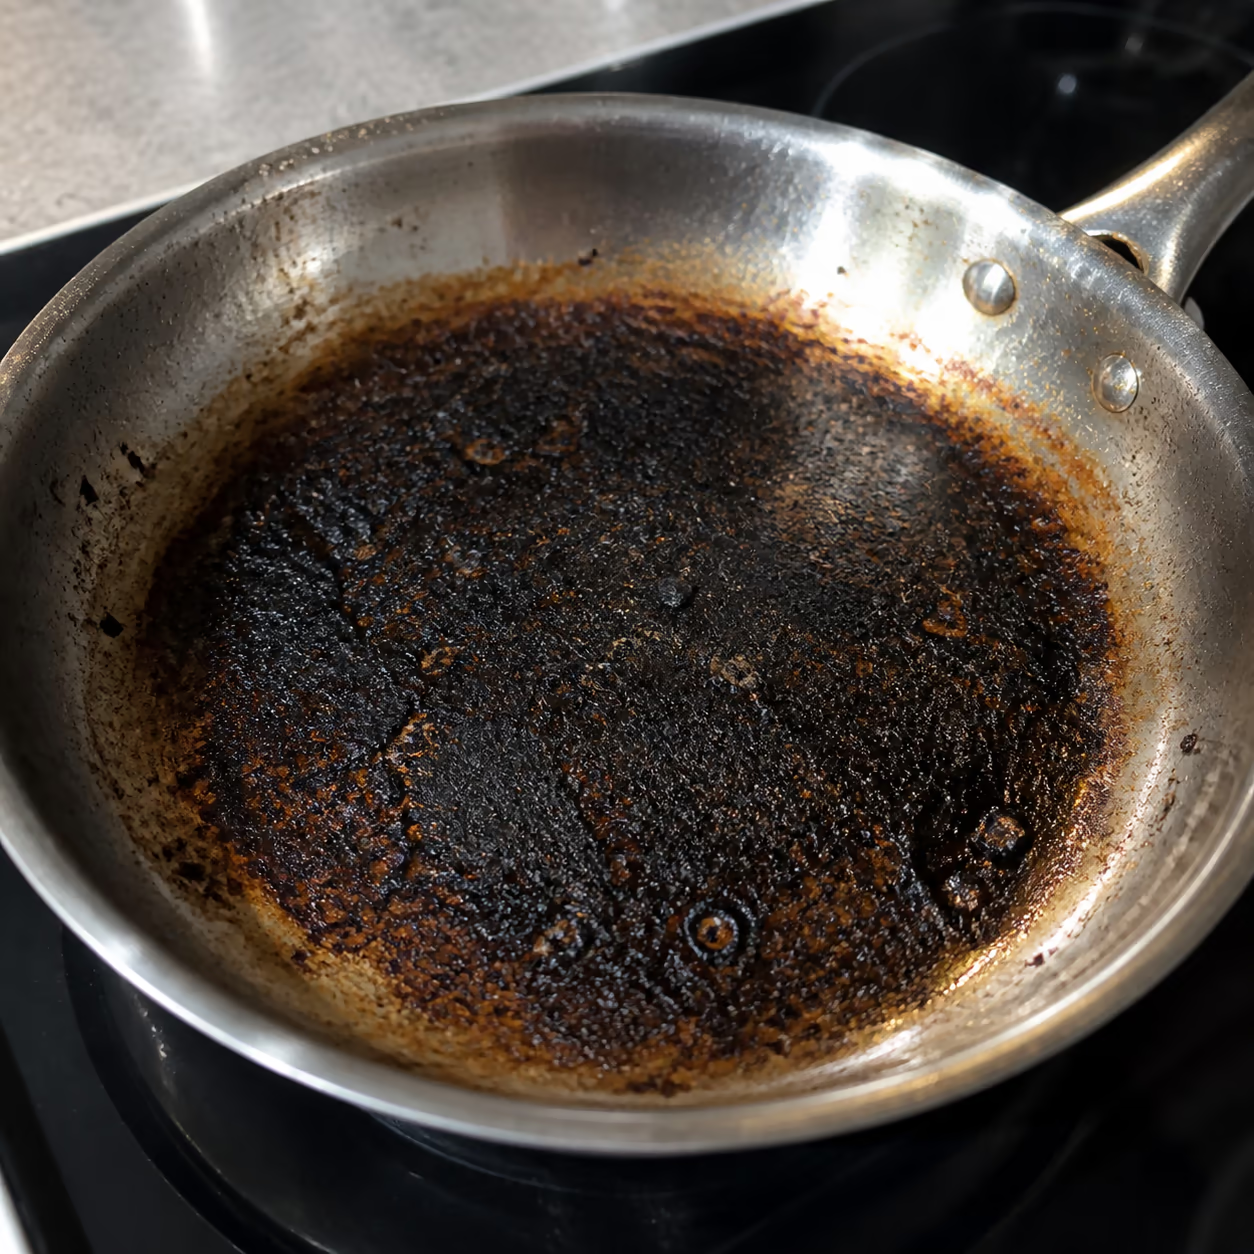
Burnt-on food is usually the result of heat, not carelessness. Stainless steel conducts heat unevenly unless the pan is preheated gently, so hotspots form and food sticks or scorches before you notice the smell. Oils and sugars are the worst offenders because they carbonize quickly once they pass their smoke point.
- A pan left on high heat while the water boils away concentrates the residue into a crust.
- Milk, tomato sauce and sugar-based sauces boil over and burn onto the outside wall of the pan.
- Protein sticks to a pan that was heated too fast or turned before it released naturally.
- Seasoning and cooking sprays can polymerize into a brown film that looks like a stain but is actually cooked-on oil.
Knowing why it burnt helps you choose the fix. A scorched sauce needs moisture and gentle heat; a polymerized oil film needs a degreaser and time. Either way, the answer is almost never to attack the pan with a metal scrubber.
Stainless steel itself is non-reactive and durable, which is why cooks love it, but it is not non-stick. Its smooth surface does not have the release properties of a coated pan, so heat management is the whole secret. Understand that and most burnt pans stop happening. The same non-reactive, durable character explains why our guide on cleaning stainless steel sinks like a pro uses a similar vinegar-and-baking-soda approach for that surface.
What You Need Before You Start
The tools for a burnt pan are ordinary household items. Lay them out before you start so the water does not go cold while you search for a brush.
- White vinegar, which loosens mineral scale and helps lift burnt residue.
- Baking soda, which adds gentle abrasion and neutralizes odours.
- A non-abrasive scrub brush, sponge or nylon scouring pad.
- A wooden spoon or plastic spatula for scraping softened crust.
- A small amount of dish soap for oily residue.
- Cream of tartar or a dishwasher tablet as a stronger option for stubborn carbon.
Avoid steel wool and metal scrapers. They will remove the burnt food, and they will also scratch the stainless steel finish, leaving a dull surface that collects new residue faster. A few extra minutes with a gentler tool protects the pan for its whole life.
The Soak-and-Simmer Method That Restores Burnt Pans
This is the core technique, and it works on most burnt pans in a single session.
Fill the pan with warm water so the burnt areas are covered, add a splash of white vinegar and a couple of tablespoons of baking soda, and bring the pan to a gentle simmer. Let it bubble for ten to fifteen minutes, turning the heat down if the water starts to boil hard. The steam and heat lift the crust from the metal so you do not have to scrape it off.
Take the pan off the heat and let it cool enough to handle. Use a wooden spoon or plastic spatula to scrape the loosened residue toward the centre, then rinse the pan out. Repeat the simmer once more for anything that remains, and finish by washing the pan with dish soap and warm water.
For oily, polymerized film, add a squirt of dish soap to the simmering water. The soap breaks the oil bonds so the film releases in sheets instead of smearing. Rinse well, because leftover soap leaves a dull haze on stainless steel.
Pay attention to the outside of the pan while you are at it. Burned-on residue on the exterior wall comes from boil-overs, and it lifts the same way the inside does. If you leave the pan to simmer, it cleans the outside wall too, which is the detail that makes a pan look like new.
Take care while the pan simmers. Use a lid and keep an eye on the heat so the water does not boil dry, and always handle the pan with a dry cloth or mitt because the handle gets hot. Steam from the pan is hot too, so keep your hands and face clear when you lift the lid.
Removing Stubborn Carbon and Restoring the Shine
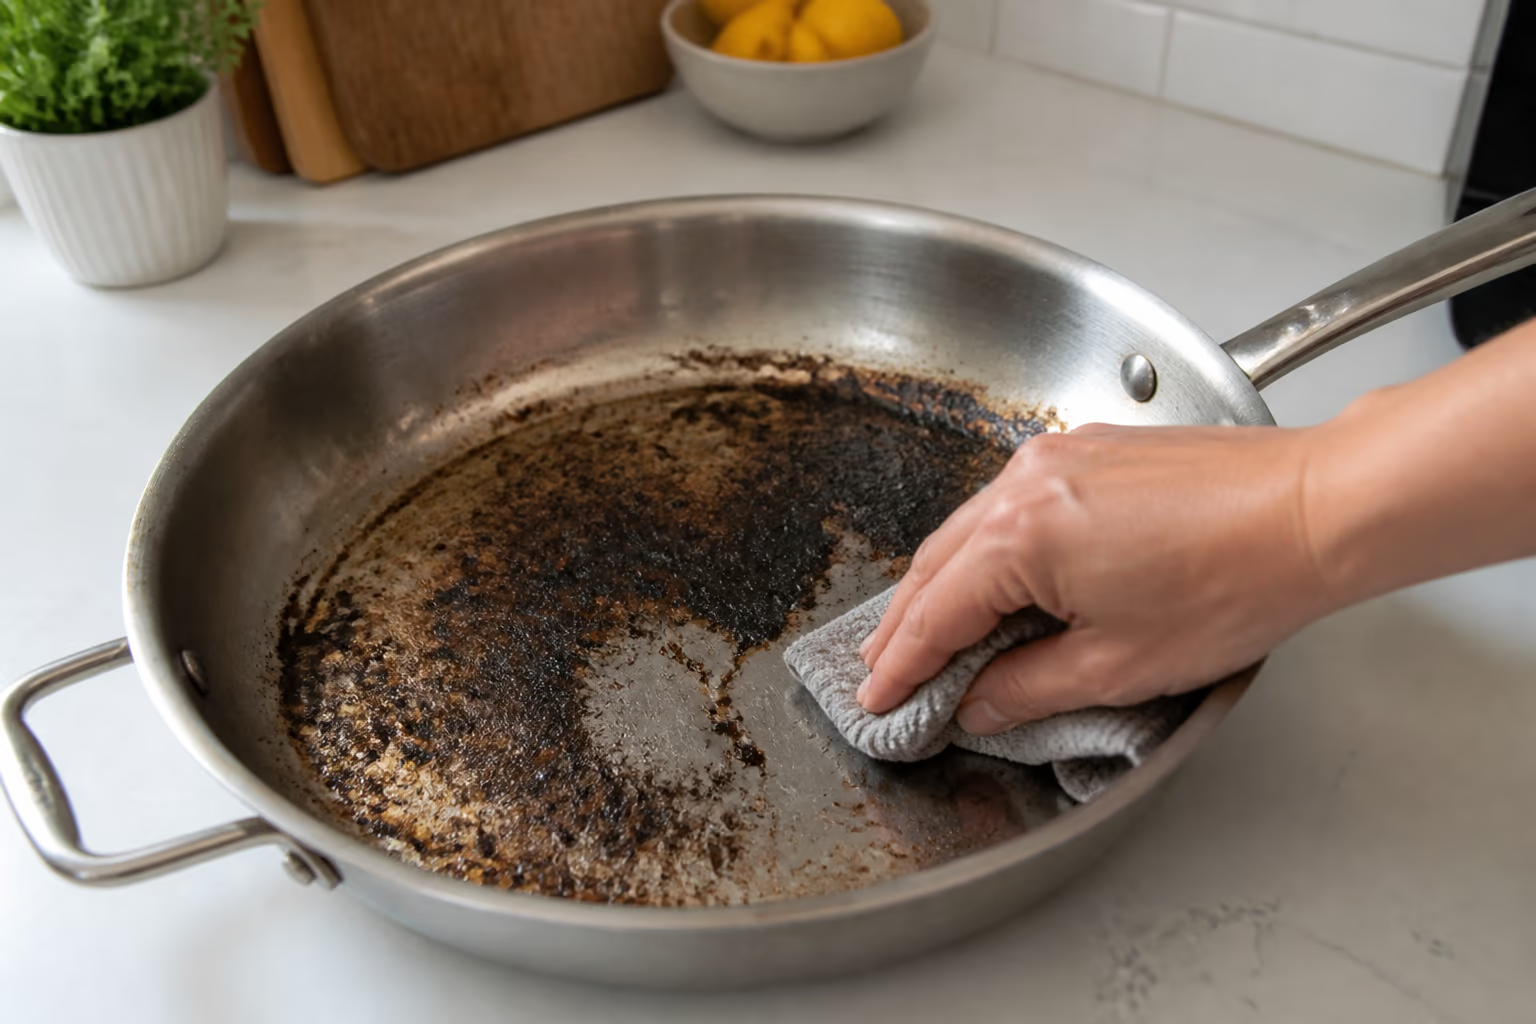
A single simmer removes most burnt food, but heavy carbon needs one more step. With the pan cool, make a paste of baking soda and a little water and apply it to the remaining spots. Let it sit for a few minutes, then scrub gently with a non-abrasive pad in a circular motion. The paste is abrasive enough to lift carbon but gentle enough to leave the stainless finish alone.
For very thick crusts, some home cooks use a dishwasher tablet. Half a tablet in simmering water lifts stubborn carbon, and the pan rinses clean afterwards. It is effective, so it is worth having in your toolkit for the pans that have sat too long.
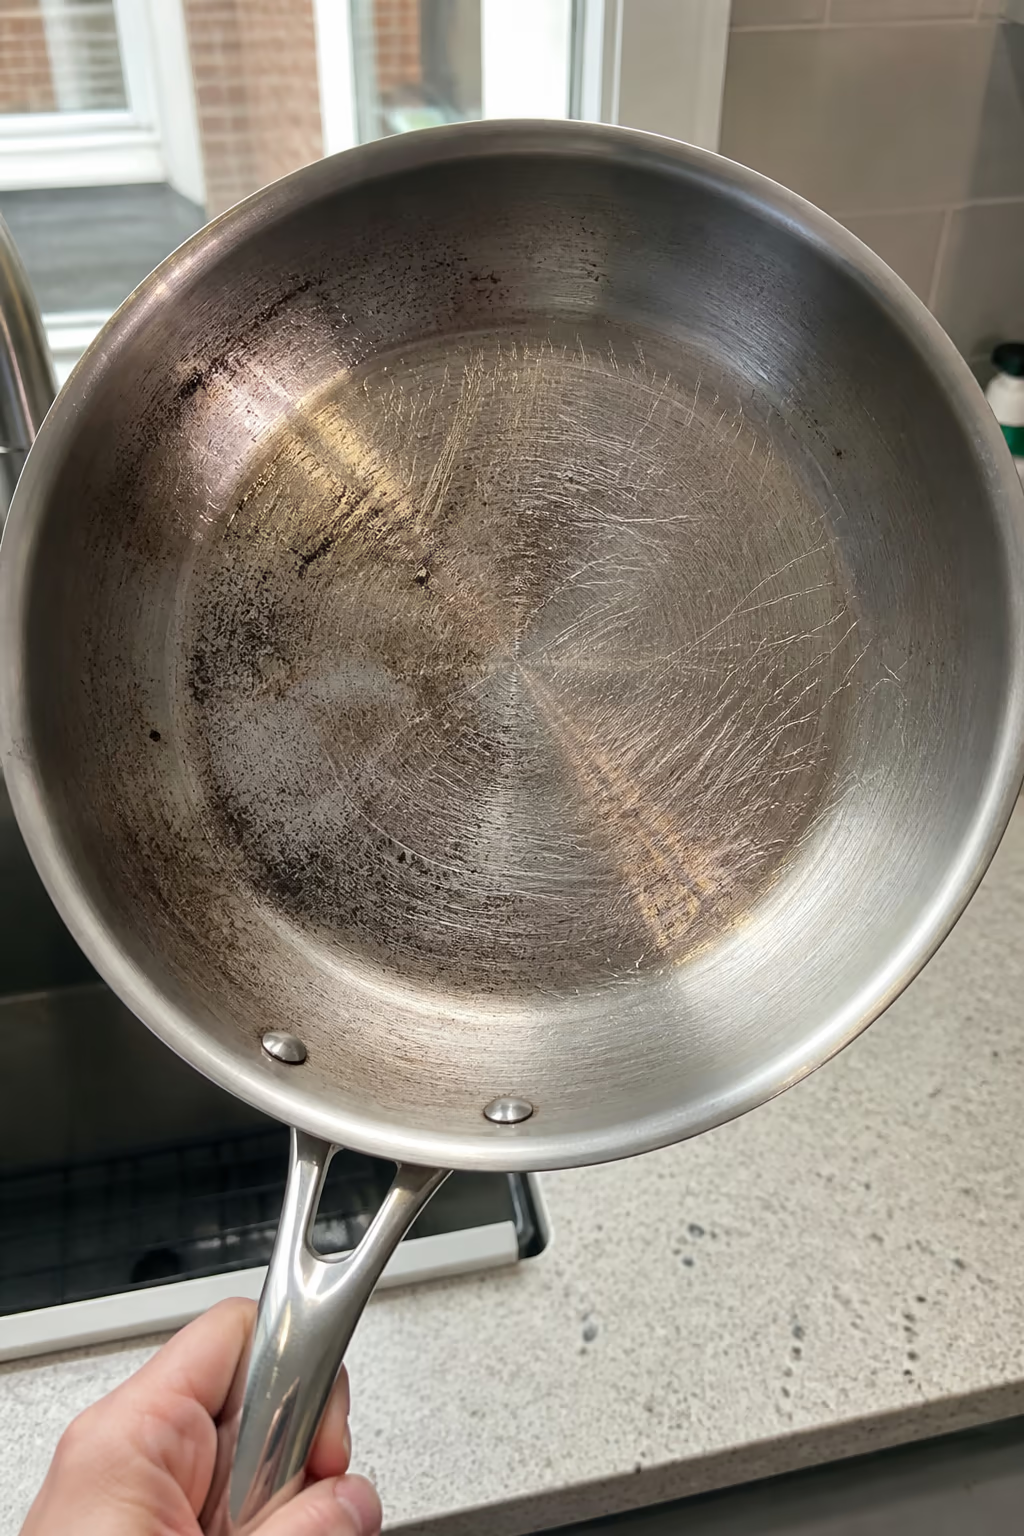
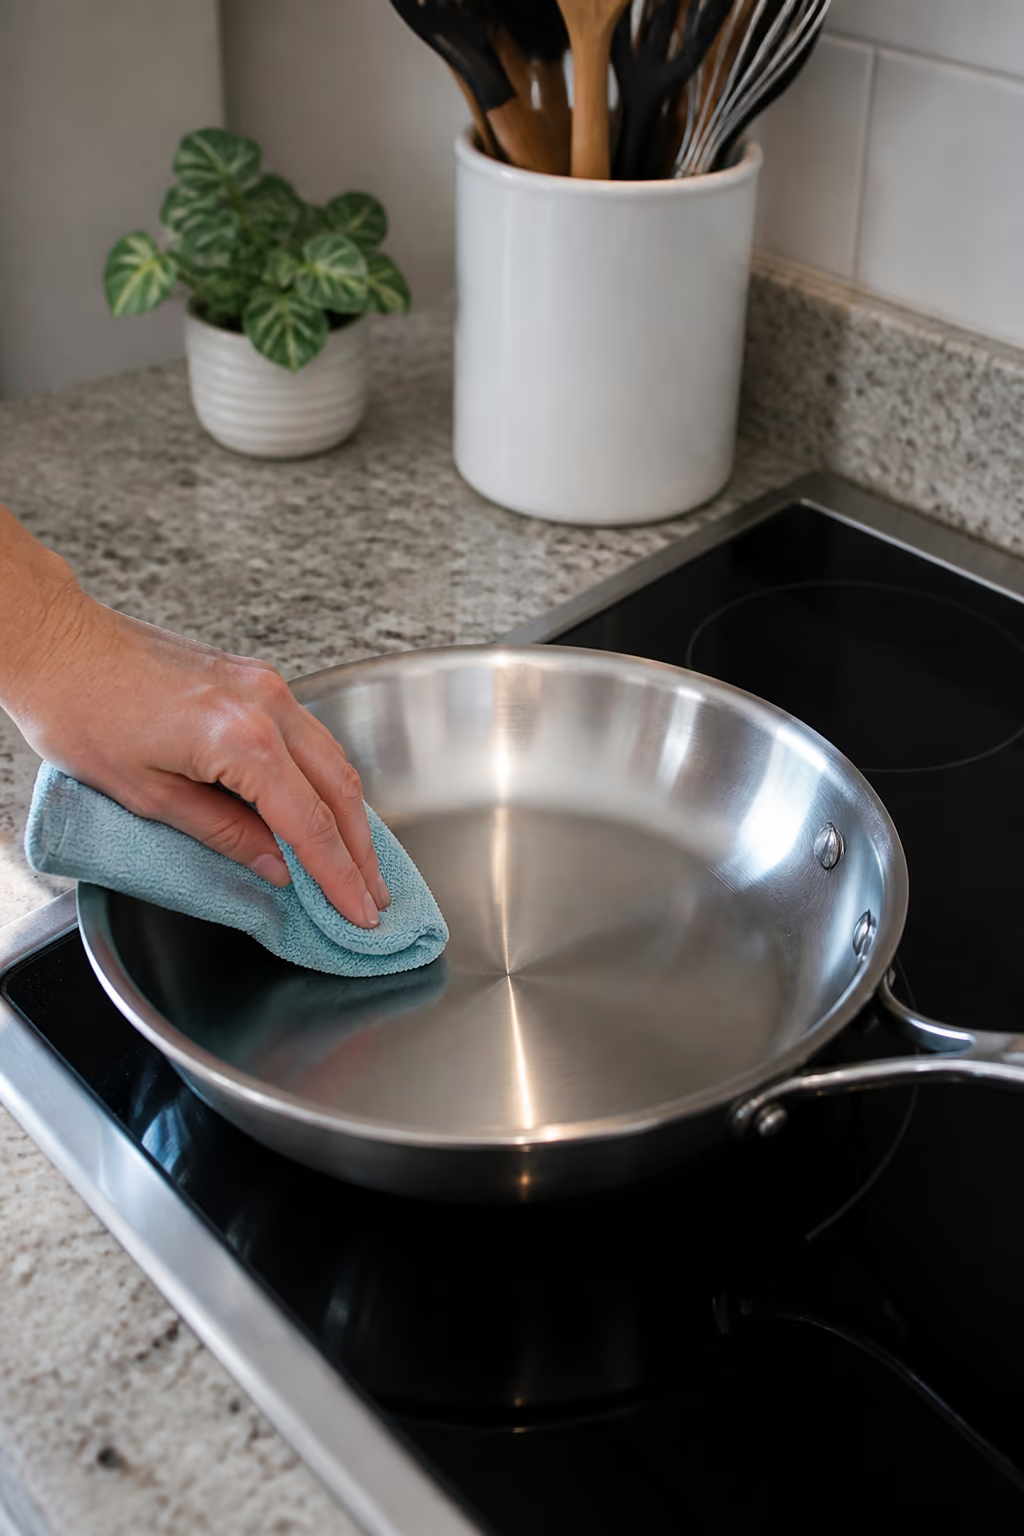
Heat and water can leave a rainbow tint or white mineral spots on stainless steel. Both are cosmetic and easy to remove. Rub the pan with a little white vinegar or lemon juice, rinse and dry immediately with a microfibre cloth. Drying right away also prevents new water spots, which is the small habit that keeps a stainless pan looking new.
If the pan is still speckled after the paste, give it one more short simmer and repeat. Stubborn carbon sometimes needs a couple of rounds, and each round is quicker than the last once the heavy layer has gone. Patience beats harsher chemistry here.
Pans That Have Sat Too Long
A pan that has sat in the sink for days, or at the back of the cupboard for weeks, has a crust that is dry and bonded. Do not reach for heavy scrapers; give it a long, gentle soak first.
Fill the pan with warm water and dish soap and leave it overnight. In the morning the crust will have softened enough for the simmer method to finish the job. This slow first step saves hours of scrubbing and protects the surface, which is exactly how a professional handles a pan that has gone cold.
For carbon that has bonded during a high-heat burn, the overnight soak followed by the baking soda paste is the most reliable sequence. Work in small circles, keep the paste damp, and the residue lifts in stages rather than all at once.
Which Pans Should Not Be Cleaned This Way
The soak-and-simmer method suits stainless steel, but it is not for every pan in the drawer. Match the method to the material and you avoid ruining a good pan while cleaning another.
- Non-stick pans:skip the abrasive paste and the dishwasher tablet; a soft cloth with warm soapy water is all they need, because the coating scratches easily.
- Cast iron:never soak it in simmering water, which strips the seasoning; a brief rinse and a gentle scrub with a soft brush works better.
- Copper:avoid harsh abrasives that scratch the soft metal; use a copper cleaner or a paste meant for the finish.
- Aluminium:strong alkaline or abrasive cleaning can discolour the surface, so test a small area first.
When you are unsure of the material, check the bottom of the pan for a stamp or read the care guide. The right method for the material takes the same time as the wrong one and keeps the pan usable for years.
How to Prevent Burnt-On Messes in the First Place
The best cleaning trick for a burnt pan is avoiding the burn in the first place. A few habits in the kitchen keep stainless steel pans releasing food cleanly, so the dramatic rescue is rarely needed.
- Preheat the pan over medium heat and add oil before the food, not after.
- Let meat and fish release naturally before you turn them, instead of forcing them with a spatula.
- Keep an eye on sauces and anything with sugar; they scorch fastest.
- Lower the heat as soon as the pan is hot enough to sizzle, and use a lid to trap moisture.
None of these habits take extra effort once they are automatic, and they protect the pan and the meal. When a burn does happen anyway, the soak-and-simmer method above turns it back into a normal cleanup.
Formatted Step-by-Step Burnt Pan Cleaning Checklist
Use this checklist to restore a burnt stainless steel pan step by step.
- Step 1.Fill the pan with warm water, vinegar and baking soda, and bring it to a gentle simmer.
- Step 2.Let the water bubble for ten to fifteen minutes so the heat lifts the crust.
- Step 3.Cool the pan, scrape the loosened residue with a wooden spoon, and rinse.
- Step 4.Repeat or apply a baking soda paste and scrub gently with a non-abrasive pad.
- Step 5.Rinse well, remove any heat tint with vinegar, and dry immediately with a microfibre cloth.
- Step 6.For a kitchen that stays cleaner between cooks, review our professional home cleaning services in Ottawa to compare scope and scheduling.
Common Mistakes That Scratch or Re-Stain the Pan
The mistakes below turn a fixable burnt pan into a permanently damaged one, or leave it dirtier than you started.
The biggest is reaching for steel wool or a metal scraper. The scratch marks become permanent, and they trap residue, so every future cook leaves more film that needs cleaning.
The second is skipping the soak. Scrubbing dry carbon scrapes the pan and moves the crust around instead of lifting it. Heat and moisture do the real work; your scrubbing is only a final pass.
The third is using too much heat during the clean. Boiling hard can warp a thin pan and bake residue onto the outside. A gentle simmer is all the soak needs.
The fourth is stacking wet pans or drying them without wiping. Water left on stainless steel dries into mineral spots and heat tints, making a clean pan look dirty again by morning.
The fifth is mixing strong cleaners. In the kitchen especially, never combine bleach with vinegar or other acids. Reading labels before combining anything is a habit that keeps people safe.
Kitchen Safety and How Good Cleaner Co. Approaches Kitchens
Kitchens are where cleaning accidents most often happen, because they combine heat, water, food and a variety of products. The professional habit is simple: read the label, use the right tool, and never mix products you have not verified.
Kitchen safety has a published baseline worth following. Health Canada's safe food storage guidance says to sanitize countertops, cutting boards and utensils before and after preparing food, and to wash your hands with soap and warm water for at least 20 seconds. Health Canada puts the priority plainly: “Storing your food properly is one of the key things you can do to protect yourself and your family from foodborne illness.”
Our cleaners carry the same habits into the homes they work in. Staff are trained in safe product handling, so they handle concentrated and everyday products with the same respect, and they choose low-VOC cleaners wherever possible. When a kitchen truly needs a disinfectant, we use a registered product and follow its contact time exactly rather than guessing. The same product discipline carries into office cleaning services in Ottawa, where shared kitchenettes get the identical label-first approach.
The seasonal piece matters in a Canadian kitchen too. In winter, more cooking indoors means more grease on surfaces, and the exhaust fan works harder; in summer, open windows let dust and pollen settle on counters. A regular wipe-down of the stove, backsplash and counters keeps the built-up film small enough that burnt pans stay an occasional problem rather than a weekly one.
Good ventilation is part of safe cleaning too. Run the exhaust fan or open a window when using stronger products, and keep children and pets away from wet surfaces while you work. A clean kitchen should not smell like the products used to clean it.
When a Burnt Pan Points to a Bigger Kitchen Clean
A single burnt pan is a quick fix. When grease and residue have built up across the whole kitchen, the pan is usually a symptom of a deeper clean that has been postponed.
- Grease film on the stove, backsplash, range hood and cabinets.
- Burned-on residue in the oven or microwave that has hardened beyond a quick wipe.
- A kitchen used daily, rented out, or prepared for guests, where a full reset is worth doing.
- Not enough time to keep up with daily wipe-downs, so the build-up keeps growing.
A professional team can reset the whole kitchen in a single visit, which clears the built-up grease and makes your own daily upkeep far easier afterwards. If you are comparing providers for your home or a property you manage, our guide to choosing a commercial cleaning company is a useful starting point for the questions that matter.
FAQ
Is a burnt stainless steel pan ruined?
Almost never. Carbonized food lifts with a soak-and-simmer method, and the pan is safe to use again once it is clean. Only deep scratches or warping would be a real problem.
Can I use steel wool on a burnt stainless steel pan?
It works on the burnt food but scratches the finish. Use a nylon pad or baking soda paste instead to protect the surface.
How long should I simmer a burnt pan?
A gentle simmer for ten to fifteen minutes lifts most crusts. Heavier carbon may need a second simmer or a baking soda paste afterwards.
Does baking soda or vinegar work better on burnt pans?
They work together: vinegar helps loosen mineral scale and residue, while baking soda adds gentle abrasion and lifts odours. Rinse between products rather than mixing them into one paste.
How do I stop a stainless steel pan from burning in the first place?
Preheat the pan gently over medium heat, add oil before food, and avoid leaving high-heat pans unattended. Lower heat and patience prevent most burns.
Is it safe to eat food cooked in a cleaned burnt pan?
Yes, once the pan is clean. The burnt residue is removed and the stainless steel surface is food-safe. Wash it well with dish soap and warm water before the next use.
Can the soak-and-simmer method damage my stove top?
It should not, as long as the pan sits flat and the heat stays on a low simmer. Keep the outside of the pan clean and use a burner size that matches the pan to avoid scorch marks on the cooktop.
Why did my stainless steel pan turn rainbow coloured?
The rainbow tint is a thin layer of oxides from high heat, and it is cosmetic. Rub it with vinegar or lemon juice, rinse and dry, and it fades without affecting how the pan cooks.
Wrapping Up
A burnt stainless steel pan is one of the most satisfying cleaning fixes in a home because it responds so well to heat, water and a little patience. Simmer, scrape, rinse, and finish with a quick polish, and the pan looks new enough to keep cooking. When the whole kitchen has more built-up grease than a single pan can teach you to handle, a professional team can reset it in one visit and make your daily upkeep far easier.
Keep reading
More from Good Cleaner
Services that fit
- House Cleaning Services in OttawaHouse cleaning services in Ottawa for one-time, weekly, biweekly, and monthly home care, with customizable cleaning and eco-friendly options.
- Janitorial Services in OttawaRecurring janitorial services in Ottawa for offices, warehouses, retail, dealerships and schools, with eco-friendly commercial cleaning and customized plans.
About the author
Service areas
- Ottawa
- Kanata
- Nepean
- Orleans
- Barrhaven