
Bathroom Deep Cleaning Checklist Guide: Step-by-Step Sanitation Tips
A bathroom deep clean is not about attacking every surface with the strongest product in the cupboard. It is about noticing what is on each surface, choosing a sensible tool, and giving yourself a repeatable order. A bit of toothpaste around the tap needs a different approach from mineral film on glass or dust caught behind the toilet. Once those jobs are separated, the room feels much less daunting. This guide is written for the person standing in a small bathroom with a laundry basket in the doorway and a list of other things to do. It explains what to prepare, what to leave alone until you know the material, and how to finish each area without tracking dirty water across work you have already done. For a shorter version to keep by the sink, see the ultimate bathroom cleaning checklist. If you prefer to have the reset handled for you, see our home cleaning services in Ottawa.
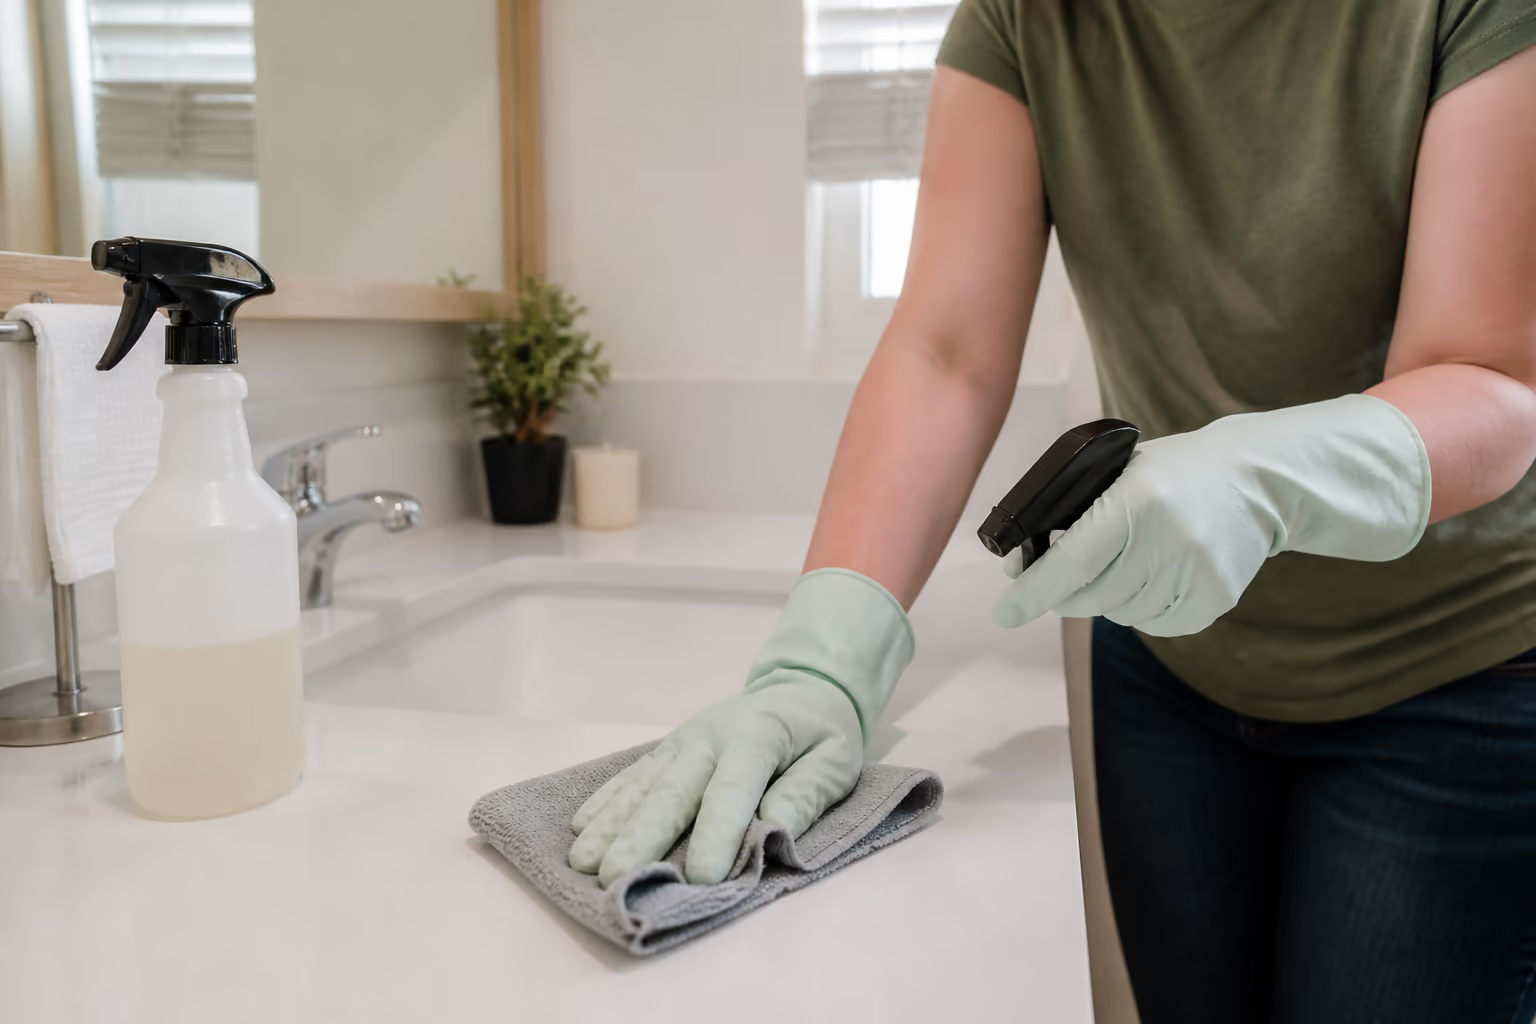
Quick Summary: This is a practical reset for the bathroom that has slipped past its usual wipe-down. Work from dry work to wet work, from high surfaces to low ones, and keep toilet tools apart from everything else. The result is a room that looks cared for without turning a Saturday into an all-day project.
Decide What This Clean Needs Before You Start
Take two minutes to look around before filling a bucket. Are you dealing with an ordinary week of splashes and hair, a neglected shower, a bathroom shared by several people, or a move-in situation? The answer changes the job. A regular clean may be a wipe, a brush, and a mop. A deep clean usually includes edges, hardware, drains, grout lines, cabinet fronts, and the awkward gaps that are easy to skip.
Start by clearing the floor and vanity. Put medicines, makeup, electric shavers, and loose bottles somewhere dry and safe. This is not fussy housekeeping; it lets you see the counter and floor you are trying to clean. It also prevents a spray from landing on a label, plug, or item that should not get wet.
Then identify anything that needs special care. Natural stone, unsealed grout, old caulk, painted cabinets, and acrylic tubs can all react badly to an abrasive pad or acidic cleaner. When you do not know what a surface is, use the mildest suitable option first in a small, tucked-away area. A clean bathroom is not much of a win if the finish is dulled in the process. If your bathroom has painted walls above the tile line, a comprehensive guide to cleaning walls effectively covers safe products and techniques for that surface specifically.
Open the window if the weather allows, or run the bathroom fan. Good airflow makes the room more comfortable when you are working with a labelled cleaning product and helps wet surfaces dry afterwards. Read the product label, especially the surface directions and any warnings. Never mix products in a bottle, bucket, or toilet bowl; one product used as directed is enough for a single job.
Build a Small, Purposeful Cleaning Kit
You do not need matching bottles or a professional-looking caddy. You need a few tools that keep dirty jobs separate and let you reach the places you can actually see. Put them in a bin or tote before you begin, so you are not wandering through the house with wet hands halfway through the shower.
- Microfibre cloths in two or three colours: Reserve one colour for the toilet area and another for the sink, counter, and mirror. The colours are a simple reminder, not a rule about which brand to buy.
- A non-scratch sponge and a soft brush: Use the sponge for smooth, durable surfaces and the brush for grout, textured tile, and the base of fixtures. Check that both are appropriate for the surface first.
- A toilet brush that is used only for the bowl: Keep it separate from every other tool and allow it to drip-dry in its holder after use.
- A mild all-purpose cleaner: This covers most counter, cabinet, and exterior-fixture cleaning when used according to its label.
- A product intended for mineral deposits, if needed: Hard-water marks can need a product suited to that task. Confirm that it is compatible with your glass, tile, chrome, or stone before applying it.
- A bucket, small basin, or mop: Fresh water matters. Change it when it has turned grey rather than spreading the same water around the room.
- A squeegee, old towel, or dry cloth: Drying shower glass, chrome, and the floor edge is often the finishing move that makes the room look properly done.
Keep the DIY citrus all-purpose cleaner guide for a separate, simple cleaner recipe if that suits a surface and its care instructions. It is still worth treating the product label and the manufacturer guidance for the fixture as the final word.
Set Up the Room So the Work Flows
Begin with dry tasks. Empty the wastebasket, pick up hair, and dust vents, light fixtures, shelf tops, and the top of the medicine cabinet with a dry cloth or vacuum attachment. If you spray first, that dust can turn into a paste and make every later step slower. Starting dry also lets you see which marks are actual residue and which were only dust.
Next, apply cleaner to the places that benefit from a little waiting time, following the label. The inside of the toilet bowl, the shower wall, and a ring around the sink are common examples. Do not guess at a dwell time or leave a product on longer than directed. While it sits, move to a different task rather than staring at the shower door.
Lay a folded towel just outside the bathroom if you expect drips or are working from a caddy. It gives you a clean landing spot for tools and saves you from walking wet soles through the hall. In a compact condo bathroom, that small bit of staging is often what keeps the job calm instead of cramped.
Choose one direction around the room and keep going. For example, start at the vanity, move to the mirror and shelves, then the tub or shower, then the toilet, and finish with the floor. You do not need a perfect system; you need one that prevents you from cleaning the same ledge twice because you forgot it the first time.
The Step-by-Step Bathroom Deep Cleaning Checklist
Use the following sequence as a complete deep-clean pass. Adapt it for the size of the room and the care instructions for the surfaces you own.
- Step 1. Remove clutter and dry debris: Put away personal items, empty the bin, collect hair, and dust higher ledges before any liquid cleaner is used.
- Step 2. Treat the shower or tub first: Apply the chosen product to the surfaces that need it, then leave it for the label-directed time while you work elsewhere.
- Step 3. Clean the vanity and sink: Wipe the counter, basin, tap, handles, backsplash, cabinet pulls, and any shelf edge where dust settles. Rinse or replace the cloth as needed.
- Step 4. Clean the mirror and glass carefully: Use a clean cloth and a product appropriate for glass. Work across the surface rather than making small circles, then check it from the doorway for streaks.
- Step 5. Scrub the shower or tub: Return to the product you applied, work one manageable area at a time, and rinse residue away. Use light pressure first; more force is not always better.
- Step 6. Detail tile edges and grout: Brush gently along the joints, corners, soap dish, shower track, and hardware. If staining does not lift with a compatible cleaner, stop before damaging the grout or caulk.
- Step 7. Clean the toilet last among fixtures: Follow the bowl product directions, then clean the outside from the cleanest area to the dirtiest, including the lid, seat, hinges, flush control, tank, base, and nearby wall if needed.
- Step 8. Wipe touchpoints: Use a fresh part of a cloth or a new cloth for the door handle, light switch, cabinet pulls, and the tap handles you may have touched during the job.
- Step 9. Clean from the far corner towards the door: Mop or wipe the floor after every higher surface is finished, paying attention to the toilet base and the edge where the floor meets the tub.
- Step 10. Reset the room: Put back only what belongs there, hang the bath mat to dry, rinse tools, and leave the fan on or the door open when appropriate for the room.
The point of the checklist is not to make you perform ten ceremonial steps. It is to keep dirty tools away from clean surfaces and to make the last job—the floor—catch what fell during everything else. If you miss a step, return to it. A useful checklist should support real life, not create guilt.
Clean the Vanity, Sink, and Mirror Without Chasing Streaks
The vanity is where a bathroom can look messy even when it is not very dirty. Toothpaste splashes, a wet soap dish, and a few loose hairpins create visual clutter fast. Take everything off the counter, wipe the objects that live there, and clean the counter underneath before putting back only the daily essentials. The rest can usually live in a drawer or basket.
For the sink, clean the basin, overflow opening, tap base, handles, and the narrow ledge behind the tap. A soft brush is useful around the drain and handle joints, where a cloth cannot reach well. Rinse the surface if the product calls for rinsing, then dry chrome or other water-sensitive finishes with a clean cloth to reduce visible spotting.
Mirrors are best handled late in the vanity work, after you have stopped spraying nearby surfaces. A clean, dry microfibre cloth is usually more helpful than a large amount of product. Fold the cloth to a fresh side as it becomes damp, and look at the mirror from an angle. Streaks that disappear head-on often show up immediately from the doorway.
Do not forget cabinet fronts and drawer pulls. They collect finger marks at the same height every day, especially in a family bathroom. Wipe them with a product suitable for the finish, then dry any seams where water could sit. This is one of those quiet details that makes a deep clean feel complete.
Work Through the Shower and Tub by Material, Not by Habit
Soap film, body oils, hair products, and minerals do not all behave the same way. That is why a shower can still look cloudy after someone has scrubbed it hard with the wrong thing. First, rinse loose soil away. Then use a compatible product and tool, following the surface and product directions. A soft cloth may be enough for a regular acrylic tub, while textured tile may need a brush.
For shower glass, start with a small area. Some glass has a protective coating, and some frames have finishes that should not be treated with a harsh or abrasive product. Wipe or squeegee from top to bottom, rinse when the instructions call for it, and dry the edge of the track where water tends to sit. A toothbrush is not required; a small soft brush can reach a track without turning the job into a science project.
Tile deserves patient attention at corners, around shelves, and along the line where wall meets tub. Those are the places where residue collects because water slows down there. Work in short sections and rinse the area rather than repeatedly spreading the same loosened film across the tile. If a mark returns quickly, consider whether it is a damaged finish or failed caulk rather than dirt that needs ever-stronger cleaner.
Caulk is a boundary material, not a scrub pad. Avoid digging at it with sharp tools or using aggressive abrasion. If caulk is cracked, pulling away, or persistently discoloured, cleaning may not solve the underlying issue. Note it for repair instead of trying to make a worn seam look brand new with force.
Give the Toilet Its Own Tools and Order
Cleaning the toilet last protects the rest of your work. Keep the bowl brush, toilet cloth, and any toilet-specific product away from the vanity, shower, and floor tools. Start with the bowl according to the product directions, then move to the exterior with a dedicated cloth. Work from tank and lid towards the lower areas, changing to a clean side of the cloth as you go.
The small parts are easy to miss: the hinge covers, the flush control, the seat underside, the rim where the lid rests, and the floor around the base. These do not need theatrical scrubbing. They need a deliberate pass, a tool that has not just been used on the bowl, and enough light to see what you are doing.
Avoid pouring random cleaners into the cistern or mixing products in the bowl. Those shortcuts can damage parts, create unwanted fumes, or simply make future maintenance harder. If you have a stubborn ring or a problem you cannot identify, use the fixture maker's care advice or ask a qualified professional rather than escalating with a kitchen-sink combination of products.
When you finish, rinse and store the brush according to its holder's design and wash your hands. That is not an afterthought; it is part of keeping the clean-up contained.
Finish Floors, Fabric, and the Overlooked Edges
The floor goes last because everything else has had a chance to fall on it: hair, dust, splashes, and the odd drop of cleaner. Vacuum or pick up loose debris before using water. Then clean in a path that brings you towards the door, so you are not leaving footprints across the wet area. Use only as much water as the flooring can handle.
Pay attention to the base of the vanity, the side of the toilet, the bath mat outline, and the edge beside the tub. Those narrow strips are where a room can look unfinished even after the middle is bright. A damp cloth wrapped around a flat tool can reach under a low cabinet more safely than forcing your hand into a tight gap.
Wash bath mats and hand towels according to their care labels, and give the mat time to dry before it goes back down. A mat that stays damp against the floor can make the room feel musty and can hide crumbs or hair underneath. If it no longer lies flat or its backing is breaking down, replacing it may be more practical than repeated deep cleaning.
Take one final look from the doorway. You will notice missed drips on the cabinet, a streak on the mirror, or a line of dust behind the door more easily from there than when you are crouched over the sink. That quick visual check is often more useful than adding another product.
Keep the Deep Clean From Becoming a Crisis Again
The best maintenance habit is the one your household will actually repeat. A quick wipe of the sink after a busy morning, a squeegee pass after a shower, and a weekly floor check can keep the next deep clean manageable. There is no universal schedule: a one-person ensuite and a shared family bathroom collect different kinds of mess at different speeds.
Give each recurring task a home. Keep a small cloth near the vanity if it will be used, store the squeegee where it can drip dry, and make the bin easy to empty. If supplies are buried behind twenty bottles under the sink, even a five-minute refresh will feel like a production.
Ventilation is also part of routine care. Run the fan while the room is in use if it is designed for that purpose, and deal with a fan that is noisy, ineffective, or not operating as expected. Cleaning can remove residue from a surface; it cannot repair a ventilation or plumbing problem.
If you are preparing for guests, a move, or a season when life is especially busy, make a short list of the visible priorities: toilet exterior, sink, mirror, shower glass, floor, and fresh towels. Then book a deeper pass for a time when you can address the edges properly rather than rushing through everything at once.
Free Bathroom Deep-Cleaning Checklist to Print
The deep-clean order from this guide on paper: before you start, the cleaning kit, the sequence from dry work to wet work, the shower and tub by material, the toilet in its own order, and the floors and fabric to finish.
Tick as you go. There is no form and no email address to hand over.
Letter size, print-ready. No email address, no sign-up.
FAQ
How often should I deep clean a bathroom?
Use the condition of the room as your guide. Many households do a more detailed clean every few weeks or monthly, with smaller touch-ups in between. A busy shared bathroom may need attention more often, while an infrequently used powder room may need less.
Can I use the same cloth on the sink and toilet?
It is better to keep toilet tools separate from tools used on the sink, mirror, and counter. Separate colours or a simple labelling system make that easy to remember when you are working quickly.
What should I do if I do not know whether a cleaner is safe for my tile?
Check the tile or fixture care instructions and the cleaner label. If the material is unknown, test the mildest suitable option in an inconspicuous area first. Stop if you see a change in colour, shine, or texture.
Why does shower glass look cloudy again so quickly?
It may be a mix of soap residue and minerals left as water dries. Clean it with a surface-compatible method, rinse when required, and dry it afterwards. If the cloudiness does not change, it may be damage or a worn coating rather than removable residue.
Is a stronger product always better for a deep clean?
No. A product has to suit the surface and be used as directed. More force, more product, or a longer-than-directed waiting time can damage finishes without improving the result.
What if caulk or grout still looks bad after cleaning?
Cleaning can remove surface residue, but it cannot fix cracks, missing material, or a failed seal. If the area is damaged or keeps changing, document the issue and arrange the appropriate repair rather than scraping at it aggressively.
How can I keep the bathroom from looking messy between cleans?
Clear the counter, use a small bin, hang towels to dry, and choose one short task that fits your routine, such as wiping the sink after brushing teeth. Small visible resets make a bigger difference than a complicated chart that nobody uses.
When is it sensible to hire help?
Consider help when the work involves a move, mobility limits, a long-neglected room, or simply a schedule that leaves no time for a proper reset. A clear scope and an honest description of the bathroom condition help set expectations. Our cleaning services FAQ covers common questions about scope and scheduling if you want more detail before booking.
Wrapping Up
Deep cleaning a bathroom is mostly a matter of order: clear the room, work dry to wet, use compatible tools, keep toilet work separate, and finish with the floor. Keep the steps that fit your home, drop the ones that do not, and build a short routine that makes the next reset easier.
Keep reading
More from Good Cleaner
About the author
Service areas
- Ottawa
- Kanata
- Nepean
- Orleans
- Westboro