
What Is Stripping And Waxing? A Comprehensive Guide
Stripping and waxing is one of the most misunderstood jobs in floor care, yet it is the reason commercial and residential hard floors keep their shine for years. In simple terms, stripping removes the old, worn finish from a hard floor, and waxing lays down a fresh protective layer in its place. This guide explains what stripping and waxing is, why it matters, how to tell when your floors need it, and how to plan the job for a clean, durable result in your Ottawa home or building.
Quick Summary
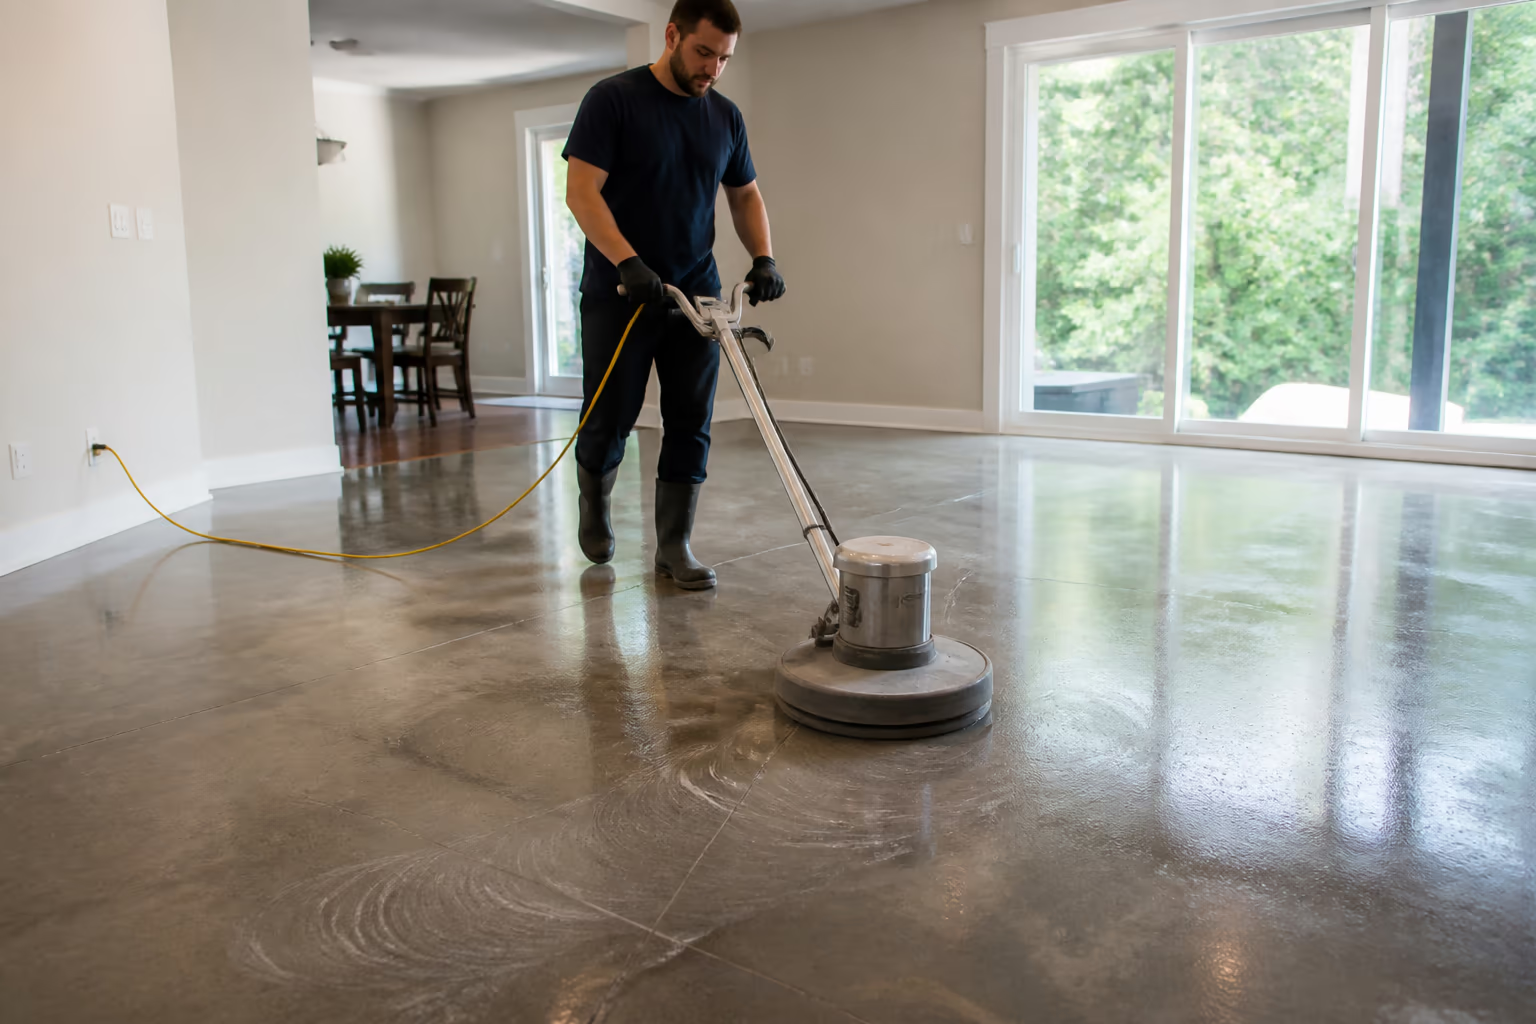
Stripping and waxing is a floor care process where stripping removes the old, worn finish from a hard floor and waxing lays down a fresh protective layer, keeping commercial and residential floors shiny for years. This guide explains when floors need it and how to plan the job for a durable result.
In this guide
Why Stripping and Waxing Matters
Hard floors take a daily beating. Foot traffic, grit, spills and cleaning chemicals slowly wear away the protective finish that gives them their shine, until the floor starts to look dull, stained and tired. Regular mopping cannot restore what is gone; it can only clean what is left. Stripping and waxing is the reset that removes the old finish and rebuilds the protection from the floor up.
The job matters for more than looks. A well-maintained wax layer protects the floor surface itself from scratching, staining and moisture damage, which extends the life of the flooring. For vinyl composite tile, linoleum and other hard surfaces, that protection is what keeps the floor functional and hygienic rather than simply worn out. In commercial settings, a well-kept floor also shapes the impression a client or visitor has of the space.
There is also a practical rhythm to floor care. Floors that are waxed on a schedule are easier to keep clean between waxings, because the finish repels dirt and makes mopping more effective. Floors that go years without maintenance are the ones that need the heaviest, most expensive work later. Regular stripping and waxing is the maintenance that saves the bigger cost.
What Stripping and Waxing Actually Is
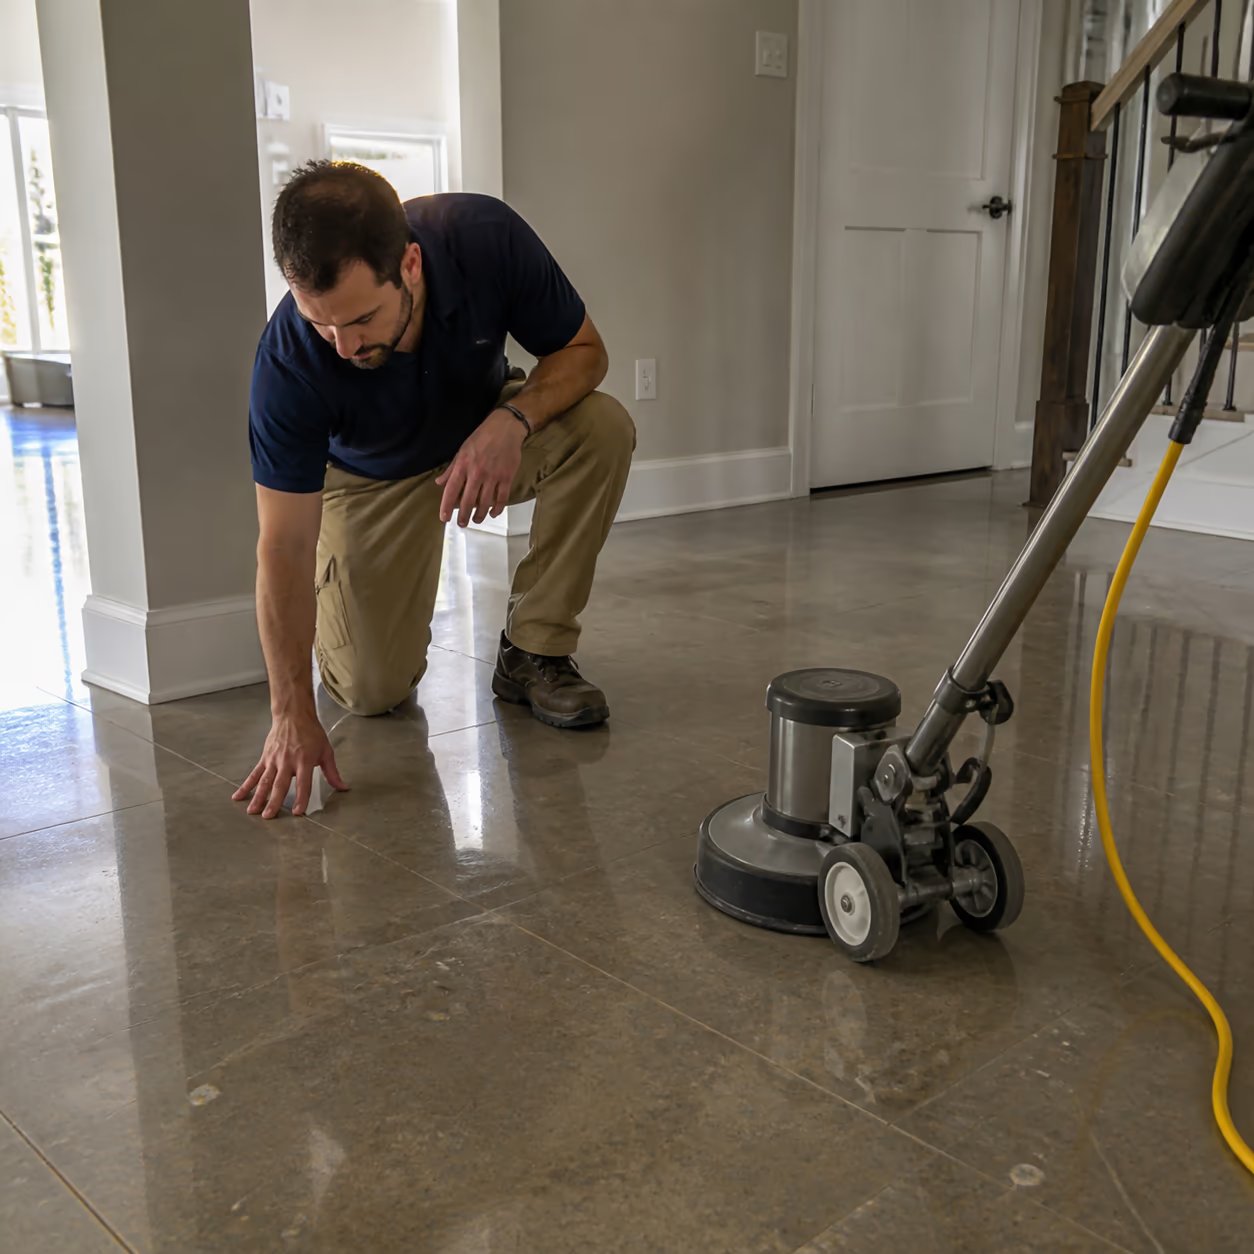
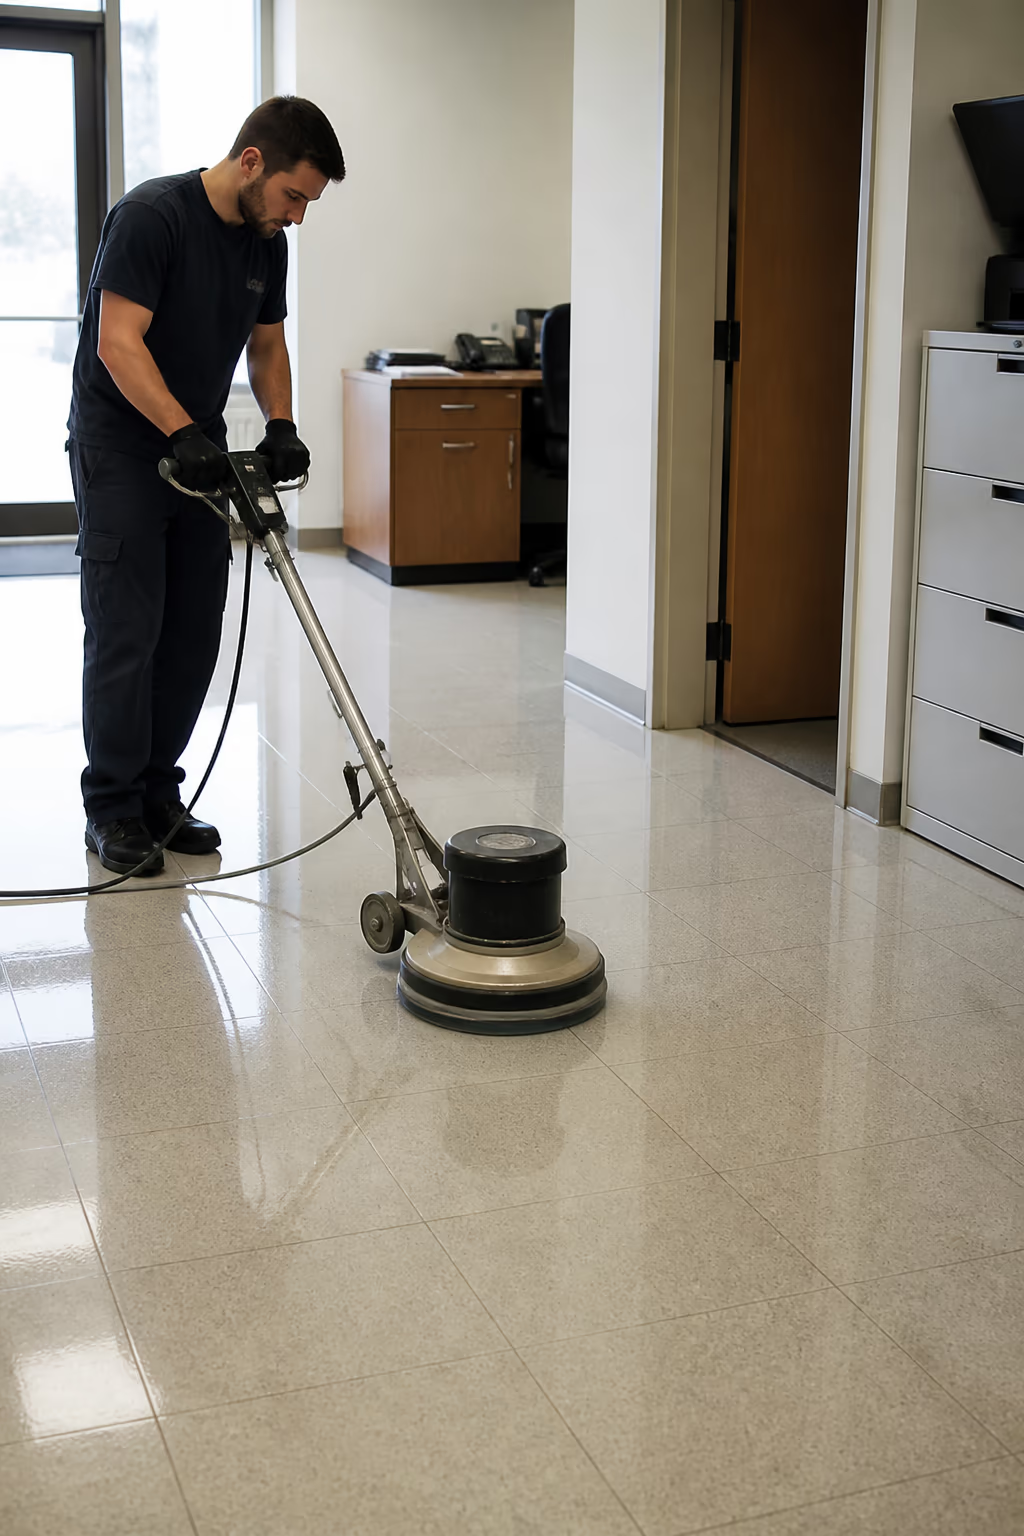
Stripping is the removal of the existing floor finish. A chemical stripper is applied to the floor, allowed to dwell, and then worked into the surface to lift the old wax and grime. The result is removed with a floor machine and wet vacuum, leaving the floor clean and ready for a fresh coat.
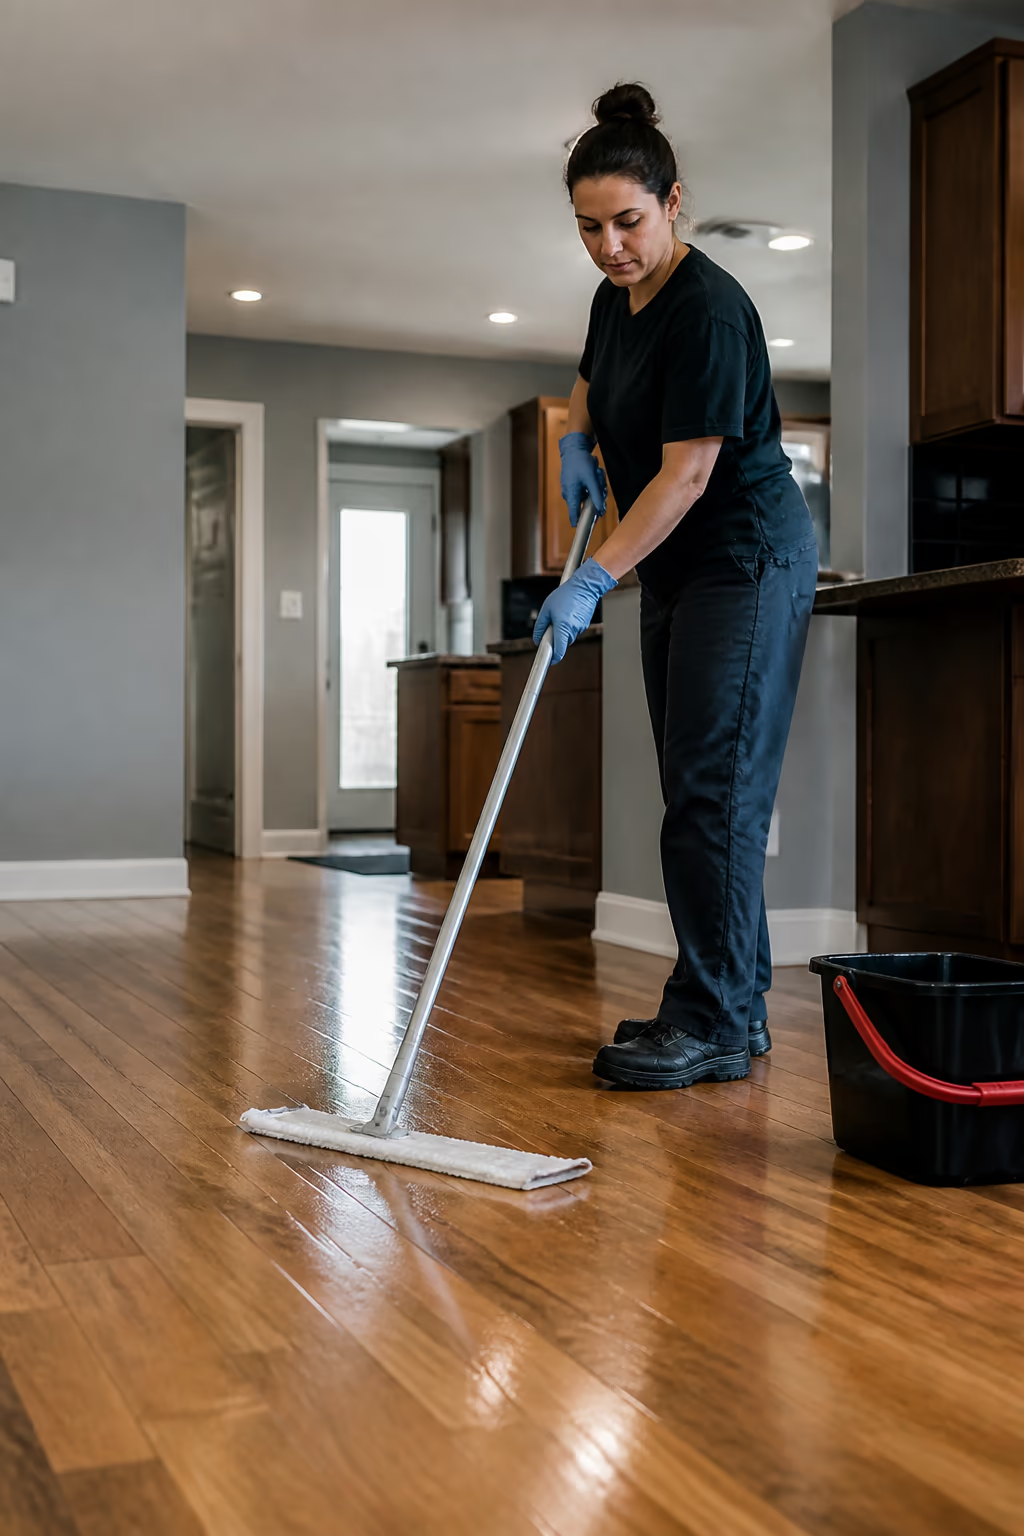
Waxing, or applying finish, is the step that follows. A fresh layer of floor finish is spread across the surface in thin, even coats, usually with a mop or applicator. Each coat dries to a hard, protective film, and multiple coats build the durable finish that stands up to daily traffic. The finish gives the floor its shine, its protection and its easier-to-clean surface.
The two steps belong together. Waxing over an old, dirty finish seals the problems underneath, so the new coat fails quickly and looks uneven. Stripping first ensures the new finish bonds to a clean surface, which is why the process is always described as one job: stripping and waxing. Skipping either half is the most common way the job goes wrong.
How Floor Finishes Work
Floor finish is a thin, clear coating that sits on top of the floor material and takes the wear instead of the floor itself. Over time, that coating becomes scratched, dull and embedded with dirt that no mop can lift. Stripping removes the exhausted coating, and waxing replaces it, so the floor keeps its protection year after year.
A finish also has a legal limit in a workplace. Ontario's industrial establishments regulation states that a floor or other surface used by any worker must not have any finish or protective material used on it that is likely to make the surface slippery, which makes coat count and cure time safety decisions rather than preferences. The same regulation covers lighting: “Where natural lighting is inadequate to ensure the safety of any worker, artificial lighting shall be provided and shadows and glare shall be reduced to a minimum.”
- 01Vinyl composite tile, or VCT, is the most common floor for commercial stripping and waxing because its finish layer is designed to be maintained this way.
- 02Linoleum and sheet vinyl can also be stripped and waxed when their surface is in good structural condition.
- 03Sealed hardwood and laminate are not meant to be stripped and waxed in the same way; they need different care.
Knowing your floor type matters before you plan the work. The wrong product can damage a floor, so the first step is always to confirm what the surface is made of and what finish it currently has. A quick check of the building records or a test patch can tell you whether a floor is a candidate for stripping and waxing at all.
When Your Floors Need Stripping and Waxing
The signs that a floor needs stripping and waxing are usually visible long before the finish completely fails. If you know what to look for, you can schedule the work before the floor reaches the point of damage.
- 01The floor looks dull or hazy even when freshly mopped.
- 02Dark marks and traffic patterns are visible in high-use areas.
- 03The finish has worn away along paths, entrances and under chairs.
- 04Scratches and scuffs do not come out with cleaning.
- 05The mop water turns dark quickly, a sign the finish is holding embedded dirt.
- 06In commercial buildings, the floor fails the visual inspection.
The frequency of stripping and waxing depends on traffic. Heavily used commercial corridors and lobbies may need the work every few months, while a lightly used residential basement can go years between waxings. The key is to maintain the finish before it wears through to the floor material, because once the floor itself is damaged, waxing can no longer fix it.
What You Need Before You Start
Stripping and waxing is a job that is only as good as the preparation and the tools. Before you begin, clear the room, protect the edges and gather everything you need so the work can run in one continuous pass.
- 01Floor stripper appropriate for your floor type, applied at the right dilution.
- 02Fresh floor finish in enough quantity for multiple coats.
- 03A floor machine with the right pad for scrubbing the stripper.
- 04A wet vacuum to remove the stripped solution and old finish.
- 05A mop and bucket, applicator and a lint-free cloth for the finish coats.
- 06Protective tape, plastic sheeting and shoe covers to protect walls and edges.
- 07Ventilation, gloves and eye protection, since strippers are strong chemicals.
Ventilation matters. Strippers contain strong solvents, so open windows and run fans, and keep the space empty while the chemicals work.
For greener options, look for low-odour and EcoLogo-certified strippers and finishes where they are available. They still do the job while keeping indoor air quality kinder for the people who use the space afterwards. It is also worth confirming whether the room needs to be off limits during the work, since many finishes need time to cure. For tips on protecting nearby surfaces during any deep-cleaning job, see a comprehensive guide to cleaning walls effectively for similar preparation advice.
The Step-by-Step Process
Stripping and waxing follows a fixed sequence, and the result depends on doing each step properly and in order. Skipping a step or rushing a dwell time is the difference between a long-lasting finish and one that peels within weeks.
- 01Strip:apply the stripper evenly, let it dwell, and work it with a floor machine to lift the old finish.
- 02Remove:take up the stripped solution and old finish with a wet vacuum before anything dries.
- 03Rinse:rinse the floor thoroughly and let it dry completely, because residue prevents the new finish from bonding.
- 04Seal and finish:apply thin, even coats of finish, letting each coat dry before the next.
- 05Recoat:build enough coats to reach the required durability, following the product's coverage guidance.
- 06Cure:keep the floor free of traffic for the full cure time so the finish hardens properly.
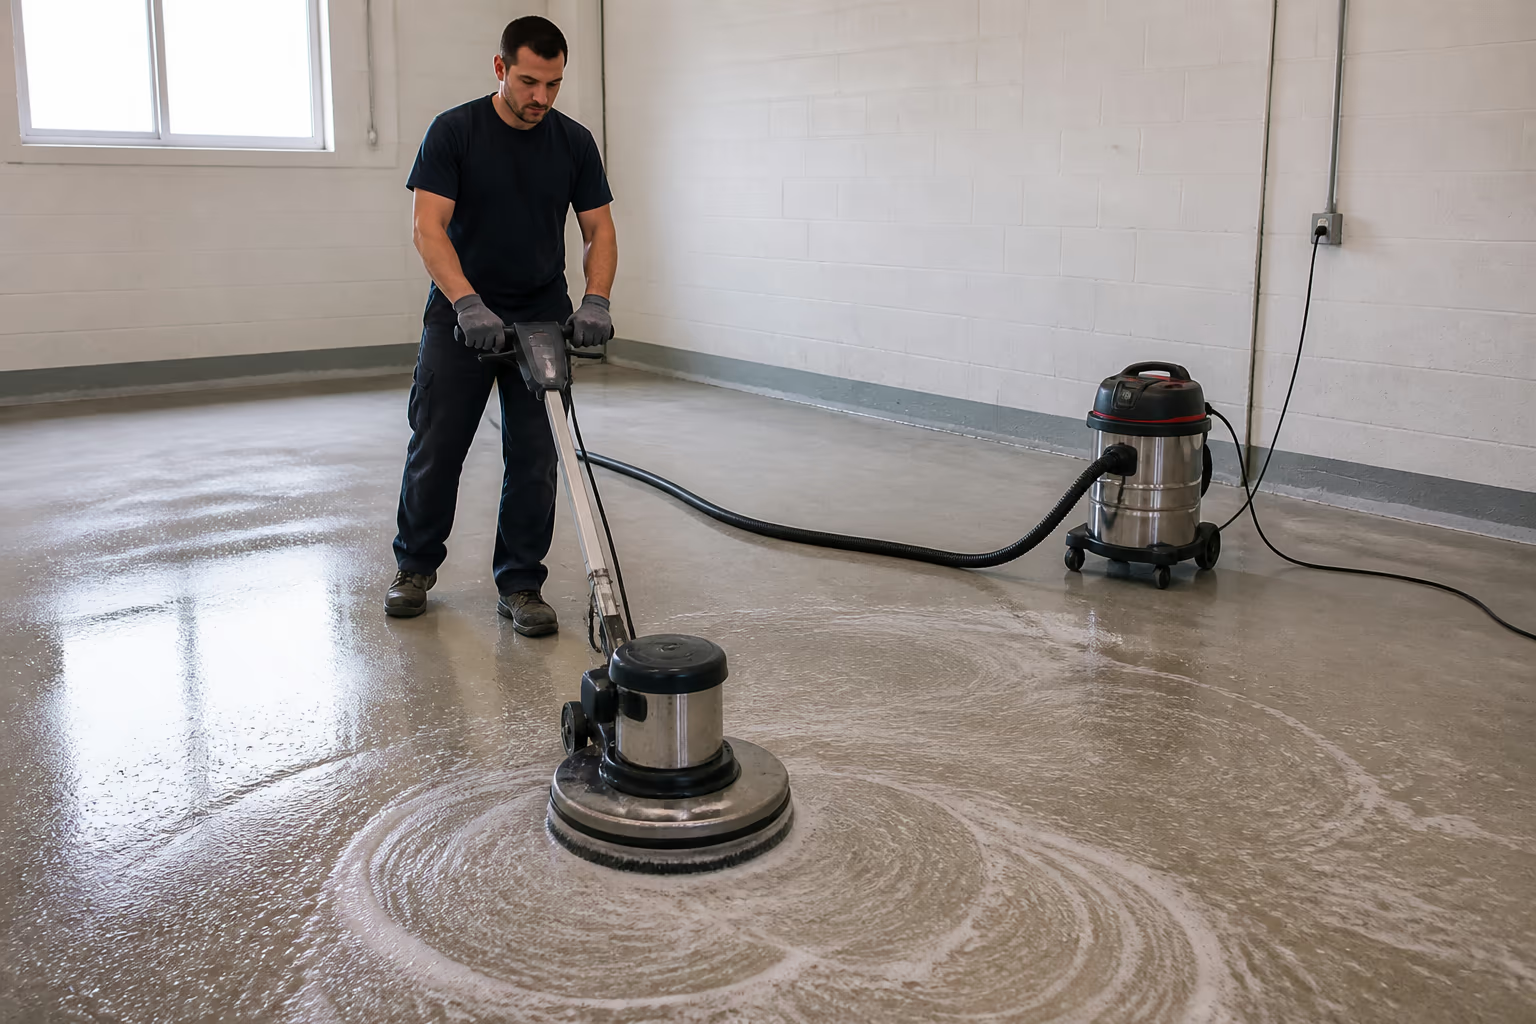
The stripping phase is where most of the work happens, because the floor has to be completely clean before the new finish can bond. A common shortcut is to skip the rinse or to wax over residue, which looks fine for a day and then peels. The dwell time, the rinse and the dry time are not optional steps; they are what make the finish last.
The finish itself should be applied in thin coats rather than one thick one. Thin coats dry evenly and build a harder, more durable film, while a thick coat traps solvent underneath and stays soft. Most professionals build three to five coats, depending on the traffic the floor will see.
Common Mistakes and How to Avoid Them
Stripping and waxing looks simple, but the failures are predictable. Most come from rushing, using the wrong product, or skipping the steps that make the finish last.
- 01Waxing over a dirty or stripped floor without rinsing, so the new finish peels.
- 02Using a stripper meant for a different floor type and damaging the surface.
- 03Applying one thick coat instead of several thin coats.
- 04Allowing traffic back too soon, before the finish has cured.
- 05Leaving the stripper to dry on the floor, which is hard to remove and damages the finish.
- 06Ignoring ventilation and protective equipment when handling strong chemicals.
Another mistake is confusing stripping and waxing with mopping. Regular mopping maintains the finish; it never rebuilds it. If the floor is dull no matter how well it is mopped, that is a sign the finish is exhausted, not that the floor is dirty. Continuing to mop an exhausted finish simply pushes dirt deeper into the worn surface.
There is also the temptation to save money by skipping the maintenance schedule. It rarely works out. Floors that are waxed on a regular rotation need lighter work each time, while floors left to fail need a heavy strip that costs more and keeps the space out of service longer. Consistent maintenance is the cheaper option over the life of the floor.
How Good Cleaner Co. Approaches Stripping and Waxing
At Good Cleaner Co., we treat stripping and waxing as a specialised job that needs the right machine, the right products and the right timing. Before we start, we confirm the floor type, check the condition of the surface and test the finish so the job is matched to the floor rather than guessed.
Our teams strip, rinse and recoat in the proper sequence, applying thin, even coats and respecting every dwell and cure time.
We also plan around your space. For a residential home, we work around your routine so the floor is dry and traffic-ready when you need it. For a commercial building, we can schedule the work after hours or on a weekend so the finish has time to cure before the space is back in use. The goal is a floor that looks fresh and stays protected for as long as possible.
Costs, Timing and When to Call a Professional
The cost of stripping and waxing depends on the size of the area, the condition of the floor, and how many coats of finish the job needs. Typical rates shift with the market and the scope, so it is worth getting an itemised quote for your specific space rather than assuming a flat price. A heavily soiled floor that needs extra stripping time will cost more than one that has been maintained. For homeowners planning routine upkeep at the same time, our affordable cleaning services Ottawa page outlines typical pricing for regular home cleaning.
Timing matters as much as price. Stripping and waxing takes the floor out of service while the chemicals work and the finish cures, so it is a job to schedule when the room can be left alone. Many commercial buildings book it after hours or over a weekend, and many homes plan it for a day when the room is not needed. A professional team can match the schedule to your space.
When to call a professional comes down to the size of the job and the equipment it needs. A large floor, a heavily worn finish or a commercial space with strict standards is usually a job for a trained team with a floor machine and a wet vacuum. If you are comparing providers, our checklist for hiring a commercial cleaner is a useful starting point for the questions that matter.
Formatted Step-by-Step Stripping and Waxing Checklist
Use this checklist to plan a clean, durable result on your hard floors:
- 1.Confirm the floor type and its finish, and test a small patch before you commit.
- 2.Clear the room, protect the edges and gather your stripper, finish, machine and safety gear.
- 3.Strip the old finish with the right dwell time, then remove and rinse the residue completely.
- 4.Apply thin, even coats of fresh finish, letting each coat dry before the next.
- 5.Keep the floor free of traffic for the full cure time, then walk it and inspect the result.
- 6.If the job is large or the floor is badly worn, trusted home cleaning crews in Ottawa bring a trained team to strip and wax your floors to a durable, even finish.
FAQ
What is the difference between stripping and waxing a floor?
Stripping removes the old, worn finish with a chemical stripper, and waxing lays down fresh protective coats. Stripping prepares the surface, and waxing rebuilds the finish that protects the floor.
How often should a floor be stripped and waxed?
It depends on traffic. Heavily used commercial floors may need the work every few months, while lightly used residential floors can go years. The right sign is the condition of the finish, not a fixed calendar date.
Can any floor be stripped and waxed?
No. Vinyl composite tile and many linoleum surfaces are designed for it, but sealed hardwood and laminate need different care. Confirm the floor type before planning the job.
How long does stripping and waxing take?
It depends on the area and the number of coats. A single room can be done in a day, while a large commercial floor can take a day or more, including the time the finish needs to cure.
Do I need to strip a floor before waxing it?
Yes. Waxing over an old, dirty finish seals the problems underneath, so the new coat fails quickly. Stripping first ensures the fresh finish bonds to a clean surface.
Are the chemicals safe for my family or my staff?
Strippers are strong products and need ventilation and protective gear, which is why trained teams handle them under WHMIS 2015. Low-odour and EcoLogo-certified options are available where the job allows.
How many coats of finish does a floor need?
Most floors need three to five thin coats for a durable finish. Thin coats dry harder than one thick coat, and the right number depends on the traffic the floor will see.
Should I strip and wax the floor myself or hire a professional?
For a small area with the right tools, you can do it yourself. For a large floor, a badly worn finish or a commercial space, a trained team with a floor machine delivers a more even, longer-lasting result.
Wrapping Up
Stripping and waxing is the maintenance that keeps hard floors looking their best and lasting longer. Know your floor type, watch for the signs that the finish is worn, and follow the proper sequence of strip, rinse, recoat and cure. Whether you take on a small room yourself or hire a team for a larger space, the goal is the same: a clean, protected floor that stands up to daily life.
If you would like a hand with your floors, contact Good Cleaner Co. for a free quote and a stripping and waxing plan tailored to your home or business.
Keep reading
More from Good Cleaner
Services that fit
- House Cleaning Services in OttawaHouse cleaning services in Ottawa for one-time, weekly, biweekly, and monthly home care, with customizable cleaning and eco-friendly options.
- Janitorial Services in OttawaRecurring janitorial services in Ottawa for offices, warehouses, retail, dealerships and schools, including floor care and stripping and waxing on a schedule.
About the author
Service areas
- Ottawa
- Kanata
- Nepean
- Orléans
- Barrhaven