
How To Clean Grout: A Step-by-Step Guide
Grout is the thin line of material between your tiles, and it is usually the first thing to look dirty. Its porous surface soaks up spills, soap residue and tracked-in dirt, turning light grout dark in a matter of months. This guide walks you through a careful, step-by-step clean, the tools that make it easier, and the maintenance that keeps grout light and sealed for much longer.
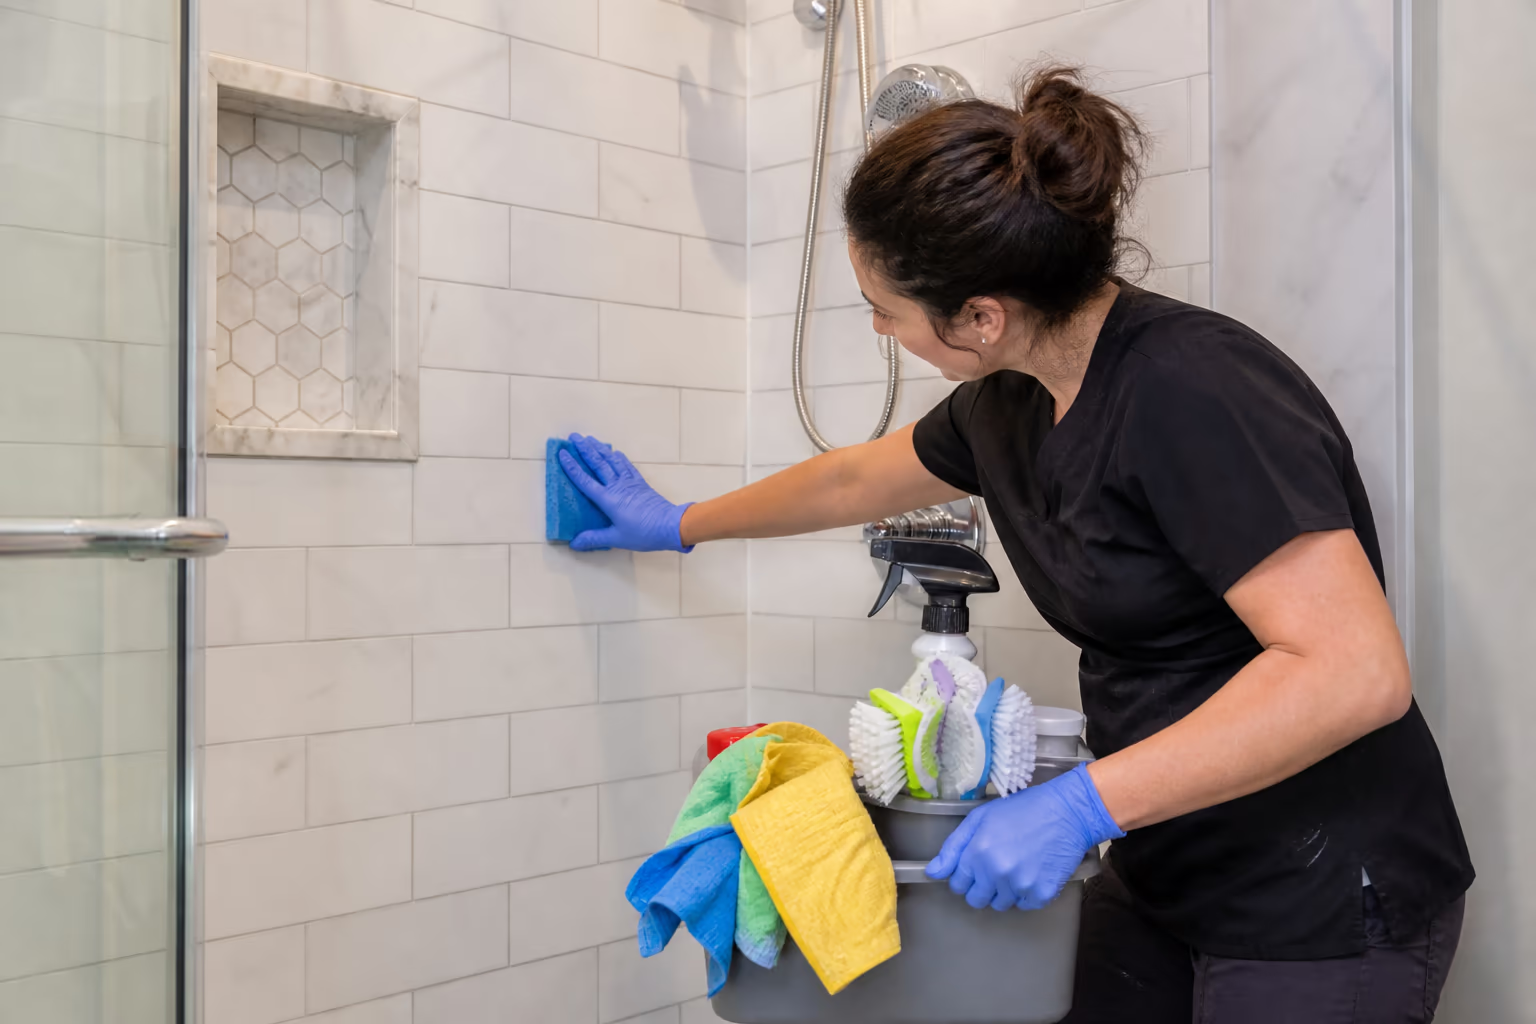
Quick Summary
Grout is porous and absorbs spills, soap residue and tracked-in dirt, so it darkens within months if left untreated. This guide walks through a careful step-by-step grout cleaning process, the tools that make it easier, removing stubborn stains, and the sealing and maintenance that keep grout light for longer.
In this guide
Why Grout Gets Dirty (and Why It Looks Bad So Fast)
Grout is not a solid surface like the tile it sits between. It is a porous, cement-based material with tiny open spaces that readily absorb moisture, soap film, oils and ground-in dirt. That is why clean white grout can look grey and tired within months, especially in kitchens and bathrooms where water and cooking residue are constant companions.
The places grout lives matter as much as the material. A bathroom shower is warm, humid and wet for long stretches, which is a perfect recipe for soap scum and mildew to settle into the grout lines. A kitchen backsplash sits behind cooking and splatter. Entryway tile takes the brunt of whatever comes through the door, and in an Ottawa winter that means salt, sand and melted slush that dry into gritty, dark residue.
Local water chemistry adds to the challenge. Ottawa's water carries dissolved minerals, so hard-water deposits build up on tile and grout over time, leaving a cloudy film that ordinary cleaning misses. Combine that with a busy household, and grout becomes the surface that ages fastest even though it was never the focus of the room. The good news is that the build-up can be lifted, and a simple routine keeps it from returning.
What You Need Before You Start
A successful grout clean is mostly about having the right tools before you begin, so the actual scrubbing goes quickly. You do not need a professional arsenal; most homes already own most of what works.
- A soft-bristle brush, a grout brush or an old toothbrush for working along the lines.
- Baking soda and a mild dish soap for a gentle everyday paste.
- White vinegar for hard-water film and soap scum, used with care.
- An oxygen-based bleach powder or a commercial grout cleaner for deeper stains.
- Warm water, a spray bottle, a bucket and clean microfiber cloths.
- Rubber gloves, a mask if the space is small, and good ventilation.
- A steam cleaner, if you have access to one, to lift ground-in dirt with less elbow grease.
Two cautions before you start. First, test any cleaner on a small, hidden corner of the tile first, because some products can dull stone or change its colour. Second, vinegar and other acidic cleaners should never be used on natural stone such as marble, travertine or slate, since the acid can etch the surface. For those materials, use a cleaner made for stone or call in a professional who knows how to protect the tile.
The Step-by-Step Grout Cleaning Process
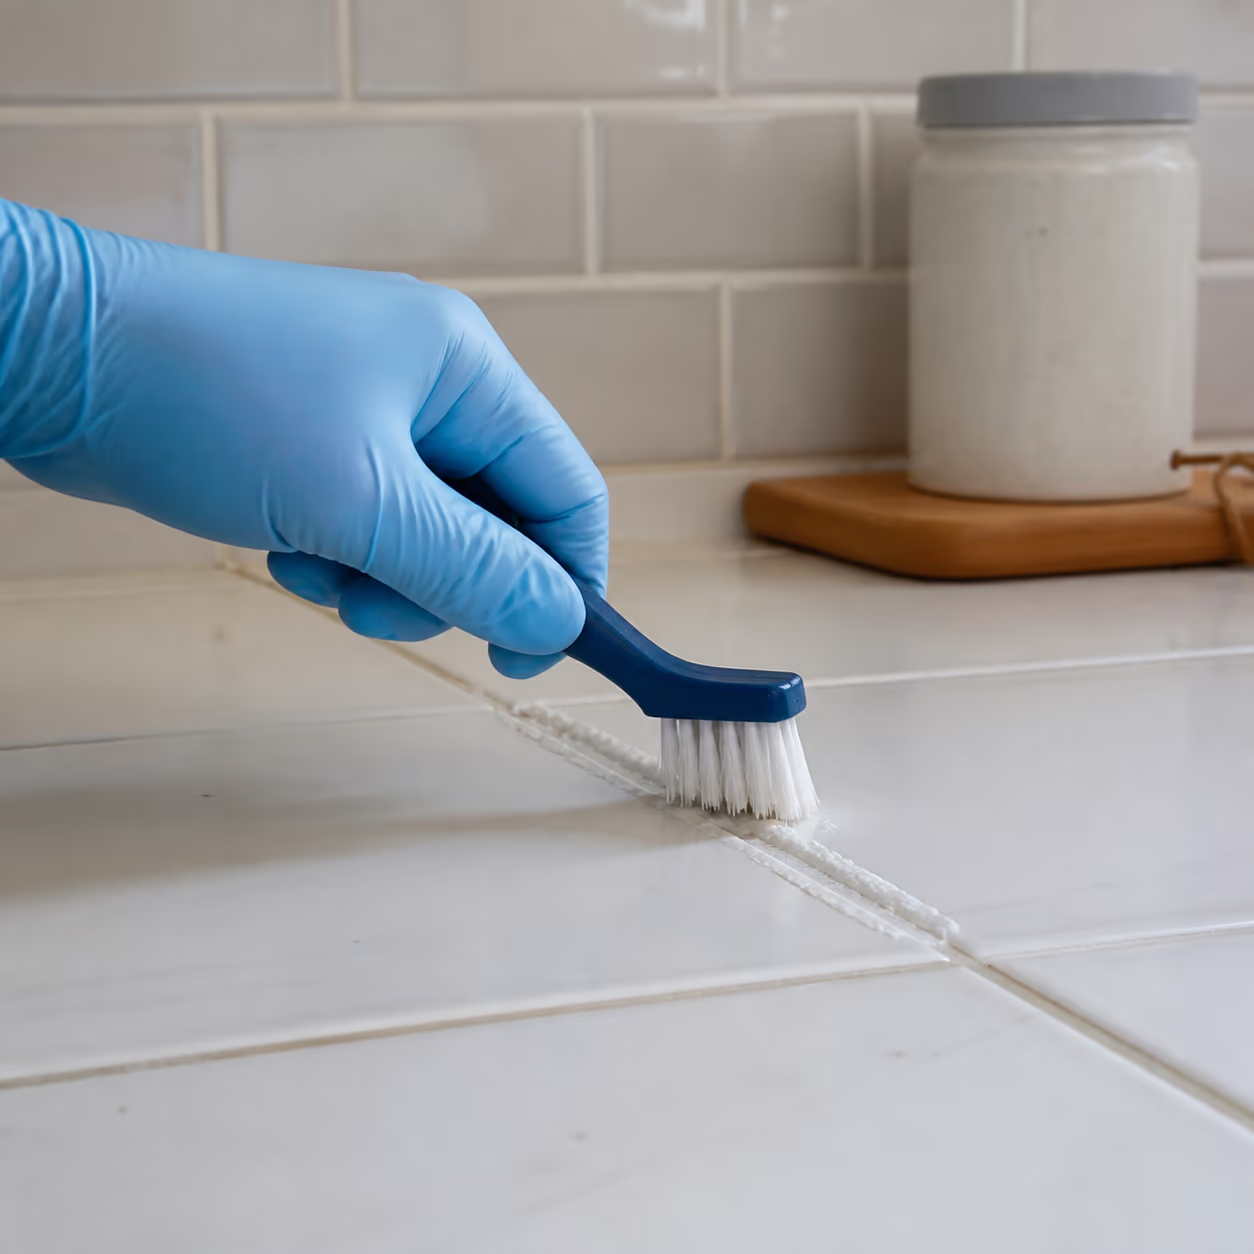
Start with a dry sweep or vacuum so loose dust and grit are not ground deeper into the grout while you work. A dry microfiber cloth over a broom head works well on walls and backsplashes. Once the surface is free of loose debris, you can actually reach the grime that has settled into the lines.
For everyday grout that is mostly clean, mix baking soda and a little warm water into a thick paste, spread it along the grout lines, and scrub gently with a soft brush. The paste is mildly abrasive and safe on most tiles. Rinse with clean water and wipe the surface dry. This takes minutes and keeps grout from accumulating between deep cleans.
For the classic baking soda and vinegar method, sprinkle a thin layer of baking soda over the grout, spray white vinegar over it until it fizzes, and let it sit briefly. The fizz helps lift loose film, and the vinegar dissolves hard-water deposits. Scrub along the lines and rinse well. Remember the caution from earlier: keep vinegar away from natural stone, and test first in an inconspicuous spot.
If you are looking for a way to clean grout without scrubbing, an oxygen-based bleach soak is the closest thing to a shortcut. Mix the powder with warm water, spread it over the grout lines, and leave it for the time the package recommends, often ten to fifteen minutes. The soak breaks down organic stains and lightens discolouration with very little scrubbing. A steam cleaner is another hands-off option, since the heat and moisture lift ground-in dirt from the pores.
Whatever method you use, finish by rinsing thoroughly. Soapy residue left behind will simply attract the next round of grime, so a final rinse with clean water and a dry microfiber cloth makes the result last noticeably longer.
Grout in Different Rooms: What Changes
The same grout responds differently depending on the room it lives in, so a little room-by-room thinking saves effort. In a shower, the enemy is standing water and soap film, so the priority is frequent wipe-downs and a mildew-targeting clean when dark spots appear. On a kitchen backsplash, the build-up is grease and cooking splatter, which responds well to a degreasing cleaner and a paste scrub. For the rest of the kitchen, our deep clean your kitchen complete guide covers cabinets, counters and appliances in the same detail. In an entryway, the dirt is coarse grit and winter salt, which needs dry sweeping first and a sealer that holds up to foot traffic.
Rooms differ mostly in how much moisture they hold. Health Canada's mould guidance says to check anywhere damp, especially where water damage has happened, and to look for stains or discolouration and a musty earthy odour. Health Canada names the cause directly: “Excessive moisture is one of the most common causes of poor indoor air in homes, classrooms and public spaces, because moisture promotes the growth of mould and dust mites.”
Frequency follows the exposure. A master shower that is used daily may need grout attention every couple of weeks, while a guest bathroom and a backsplash can go longer between deep cleans. An entryway in an Ottawa winter takes more abuse than any other floor in the house, and it repays a bit of extra care once the snow starts to fly. For entryways with an area rug or wall-to-wall carpet nearby, checking carpet cleaning price Ottawa options keeps every flooring surface on the same seasonal reset.
There is also a difference in the tile itself. Larger-format tile means fewer grout lines, so there is less to clean, while small mosaic tile in a shower can have a surprising amount of grout for its size. Knowing how much grout your room actually has, and what kind of dirt it collects, lets you plan a realistic routine instead of guessing.
Removing Stubborn Stains and Discolouration
- Some stains are too set in for a quick paste, and they need a targeted approach. Hard-water rings, soap scum build-up, rust streaks from metal fixtures and the dark, spotty discolouration that signals mildew all respond to slightly different treatment.
- For hard-water deposits and soap scum, an oxygen-based bleach soak or a commercial cleaner made for grout is usually effective. For mildew in a shower, look for a product that targets mould and mildew, and follow the label for dwell time. Rust streaks may need a cleaner designed for rust or iron, applied carefully and rinsed well. In every case, give the product time to work before you scrub; grout is porous, and the solution needs to soak in to reach the stain.
- Discolouration that does not lift after a soak and a scrub may need a professional touch. Years of build-up can fill the pores so completely that the grout surface itself is stained, and aggressive cleaning can risk the tile. When grout is deeply stained, the honest options are professional grout cleaning or, in the worst cases, having the grout lines refreshed. A professional team can assess which route makes sense for your floor or shower.
- There is also a distinction worth keeping in mind. Surface dirt is removed by cleaning. Discolouration caused by moisture behind the tile, or by repeated water pooling, may signal a deeper problem that no amount of scrubbing fixes. If grout in one area stays damp, or if stains keep returning no matter how well you clean, look at the cause before you reach for a stronger cleaner.
Sealing and Maintaining Grout After a Deep Clean
A deep clean is half the job. The other half is keeping the grout that way, and sealing is the most important step. Grout sealer fills the tiny pores that collect dirt, so spills and soap film sit on top of the grout instead of soaking in. It does not make grout immune to dirt, but it makes it dramatically easier to clean.
Seal after the grout is clean and completely dry, and follow the sealer's instructions for application and curing time. Re-sealing is not a one-time event. How often depends on traffic and exposure, so entryway tile and showers may need it more often than a guest bathroom that is barely used. A simple test is to drop a little water on the grout: if it beads up, the seal is holding; if it soaks in quickly, it is time to re-seal.
Between deep cleans, a short maintenance routine keeps grout light. Wipe down the shower after use to cut down on standing water, use a squeegee on glass and tile, and keep a mat at entry doors so salt and grit stay off the floor. Clean spills on tile promptly, ventilate the bathroom to reduce humidity, and give the grout lines a quick baking-soda paste wipe once every few weeks. Each small habit is easy on its own, and together they stretch the time between deep cleans.
Formatted Step-by-Step Grout Cleaning Checklist
Use this checklist for a thorough, consistent grout clean in any room.
- Vacuum or dry-sweep the area first so loose grit is not ground deeper into the grout lines.
- Apply a cleaner matched to your tile, whether a baking soda paste, a vinegar solution or an oxygen-based bleach soak, and let it dwell.
- Scrub gently along the grout lines with a soft brush, letting the cleaner do most of the work.
- Rinse thoroughly with clean water and dry the surface, so no soapy residue is left to attract the next round of grime.
- Seal the clean, dry grout, and re-seal when the bead test shows water soaking in quickly again.
- When a floor or shower needs a deep reset and you want trained staff who protect the tile, our house cleaning options in Ottawa are a practical next step.
How Good Cleaner Co. Approaches Grout and Tile
Grout cleaning is one of those tasks where the right product and technique matter more than effort. Good Cleaner Co. treats tile and grout as specialised surfaces: the team chooses a cleaner suited to the material, applies it with the proper dwell time, scrubs along the lines rather than across them, and rinses thoroughly so no residue is left to attract more dirt. Surfaces are tested where it matters, and products are used as the label directs.
The company also plans for the way Ottawa homes actually accumulate grime. Winter salt and grit tracked through entryways get attention at the door, where the grout takes the heaviest beating. Humid summer showers get an extra wipe-down routine in bathrooms. For a floor or shower that has been neglected for years, a professional grout clean is often the faster and safer route than repeated DIY attempts, and it avoids the risk of damaging the tile with over-aggressive scrubbing.
Choosing the right team matters, and it is worth asking the same questions you would for any job. If you are comparing providers, our guide to choosing a commercial cleaning company is a useful starting point for the questions that matter, including whether staff are trained on different tile materials and which products they use. A company that can explain its approach to your specific floor is more likely to protect it.
FAQ
How often should I clean my grout?
For most homes, a light clean every few weeks and a deeper clean every few months keeps grout looking fresh. Bathrooms and entryways with heavy use or hard water may need more attention than a lightly used guest space.
Does baking soda and vinegar really clean grout?
Yes, for everyday grime. Baking soda is a gentle abrasive, and vinegar helps dissolve hard-water deposits and soap film. The method lifts light build-up well, but it is not a substitute for a deep soak or a professional clean on badly stained grout.
How can I clean grout without scrubbing?
The closest options are an oxygen-based bleach soak, which you spread on and leave to work, and a steam cleaner, which lifts ground-in dirt with heat and moisture. Both cut down on scrubbing, though deep stains may still need a targeted product or a professional.
Why does my grout turn dark again so quickly?
Grout is porous, so dirt and soap film soak back in unless the pores are sealed. Re-sealing after a deep clean, wiping down showers and using mats at entry doors all slow the build-up and make the clean last longer.
Is it safe to use vinegar on all tile?
No. Vinegar and other acidic cleaners can etch natural stone such as marble, travertine and slate. Use a cleaner made for stone on those materials, and test any new product on a small, hidden spot first.
Can I use bleach on grout?
A diluted bleach or oxygen-based bleach can help with mildew and light stains, but it should be used with care, rinsed thoroughly and not mixed with other cleaners. For serious discolouration, a product made for grout or a professional clean is safer.
What does a professional grout clean cost?
Professional grout cleaning is priced on the area and the condition of the grout, so quotes vary from home to home and market to market. Ask for a written scope that names the rooms, the method and what the total covers before you compare providers.
How do I know when grout needs re-sealing instead of cleaning?
Drop a little water on the grout. If it beads up, the seal is still working. If it soaks in quickly, the pores are open and the grout needs re-sealing, which also keeps future dirt from building up so fast.
Does a grout pen or touch-up help a stained grout look better?
A grout pen can recolour light surface stains and is a quick cosmetic fix for small areas, but it does not clean the grout and may need reapplication. For genuine stains and build-up, clean the grout properly first, then decide whether a pen is worth it.
Wrapping Up
Grout looks bad so fast because it is porous, and it stays clean so much longer when you understand that. Sweep first, use the right cleaner for your tile, rinse well, seal when it is dry, and keep up with the small habits that stop dirt from soaking back in. If a floor or shower needs a deep reset you do not have time for, contact Good Cleaner Co. for a trained team that will protect the tile while it works. For the same top-to-bottom system applied to every room, see how to clean a house professionally step by step.
Keep reading
More from Good Cleaner
Services that fit
- House Cleaning Services in OttawaHouse cleaning services in Ottawa for one-time, weekly, biweekly, and monthly home care, with customizable cleaning and eco-friendly options.
- Janitorial Services in OttawaRecurring janitorial services in Ottawa for offices, warehouses, retail, dealerships and schools. Eco-friendly commercial cleaning, customized plans, free quote.
About the author
Service areas
- Ottawa
- Kanata
- Nepean
- Orleans
- Barrhaven